Search This Blog

Showing posts with label Battle Report. Show all posts

Wednesday, 4 April 2012

School Games Day


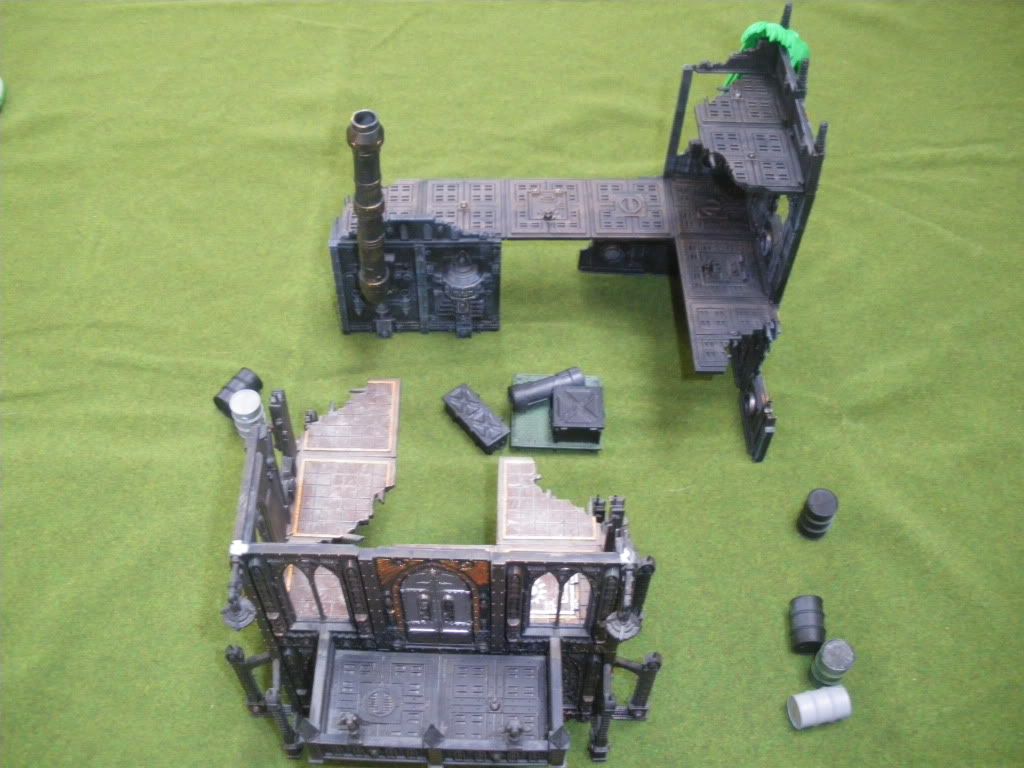
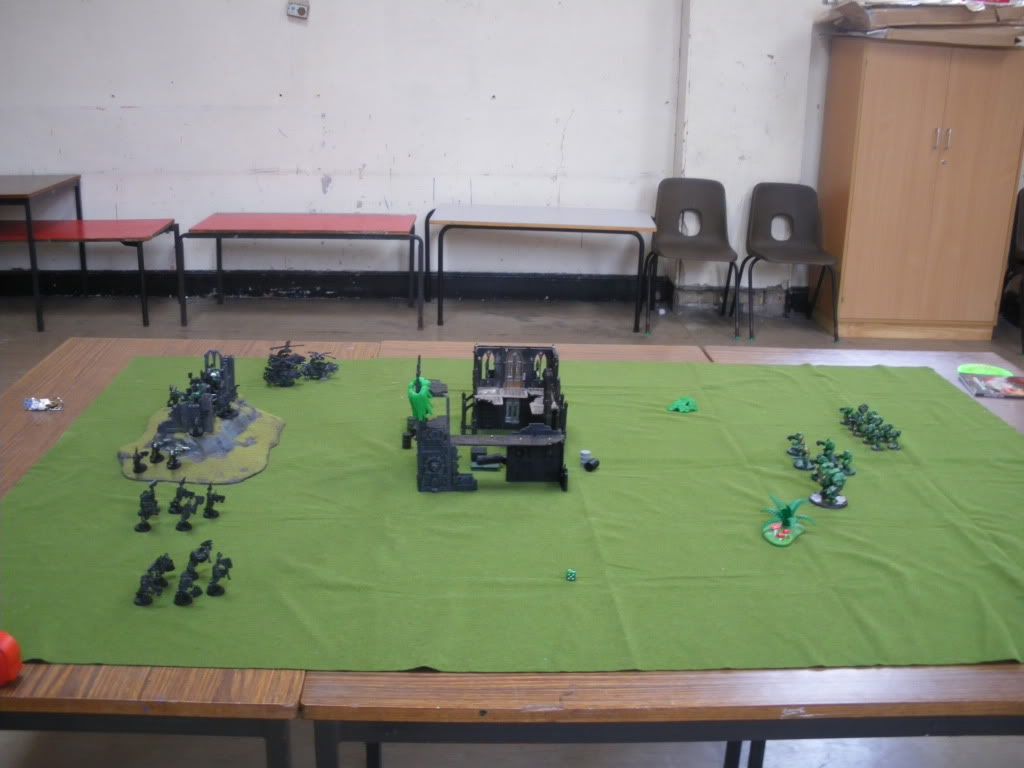
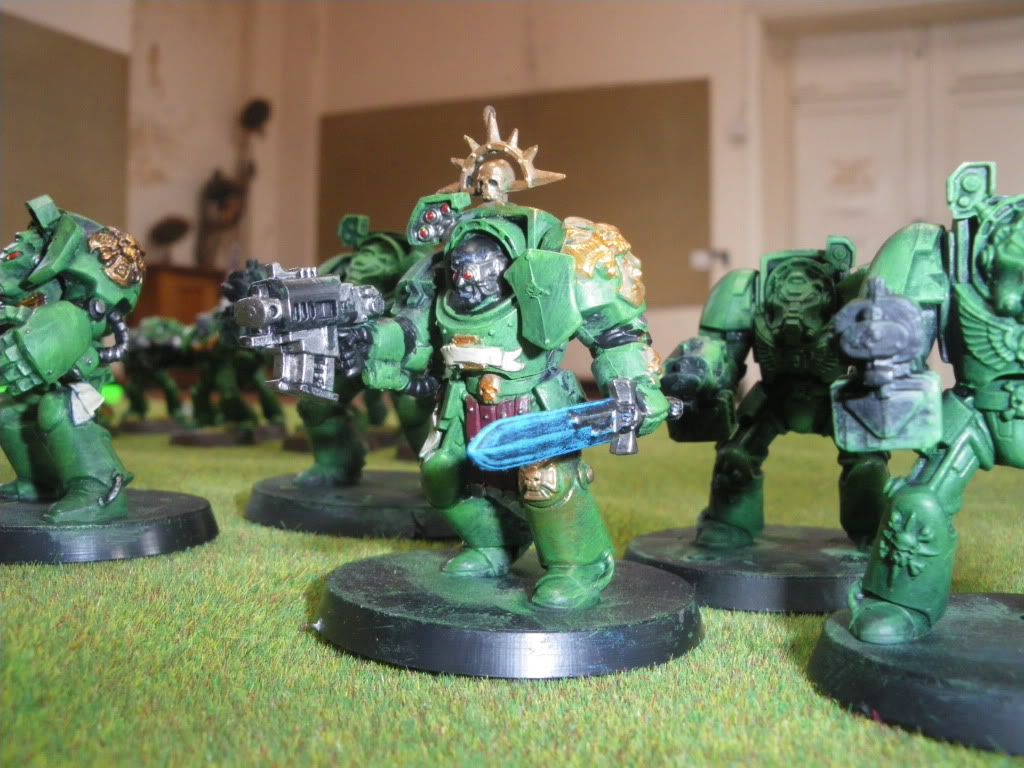
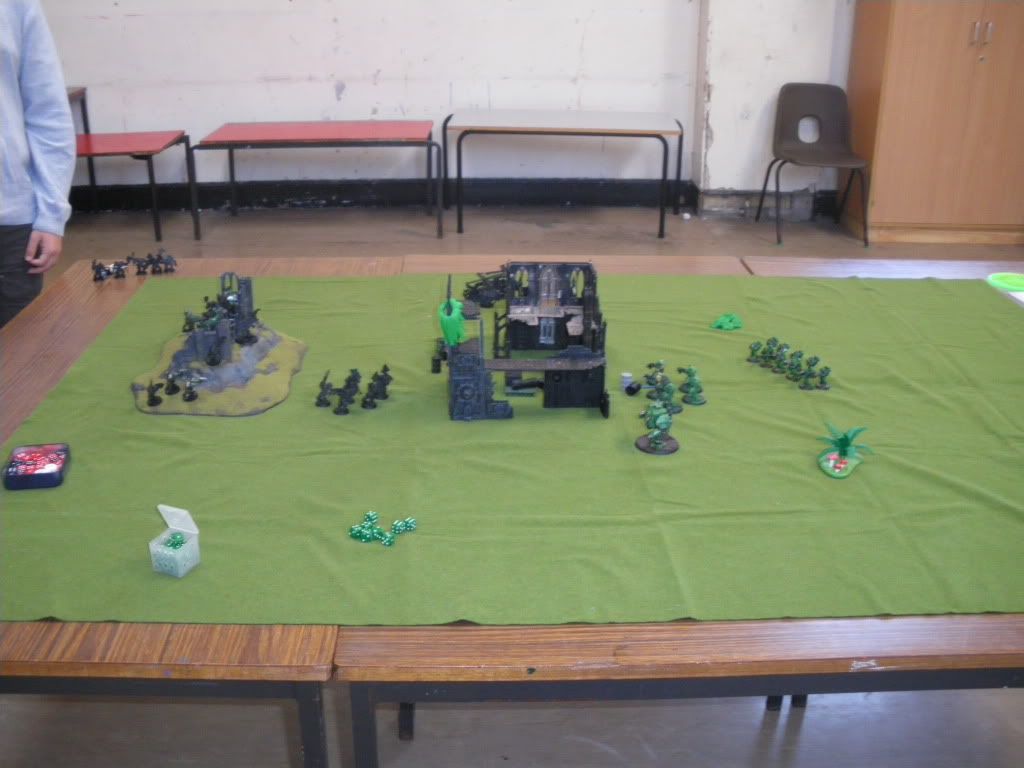
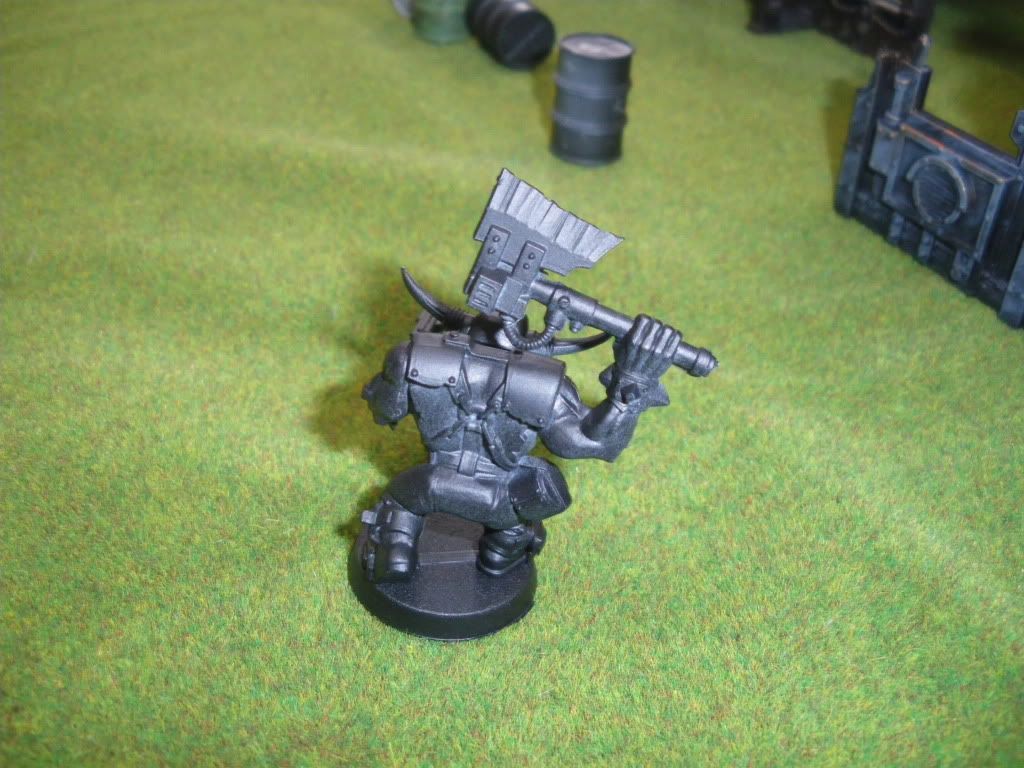
On Monday, as it's currently Easter break, one of our PSE and one of our History teachers invited us and some other students in for a full day of pure Warhammer-ing. There was a table for beginners, there were two modelling/painting tables and finally I took in my terrain for a big game. We played a 2v2 game - Myself with my Salamanders and Callum with his Flesh Tearers versus Mr. Pinner and his Dark Eldar and Leon with his Chaos.
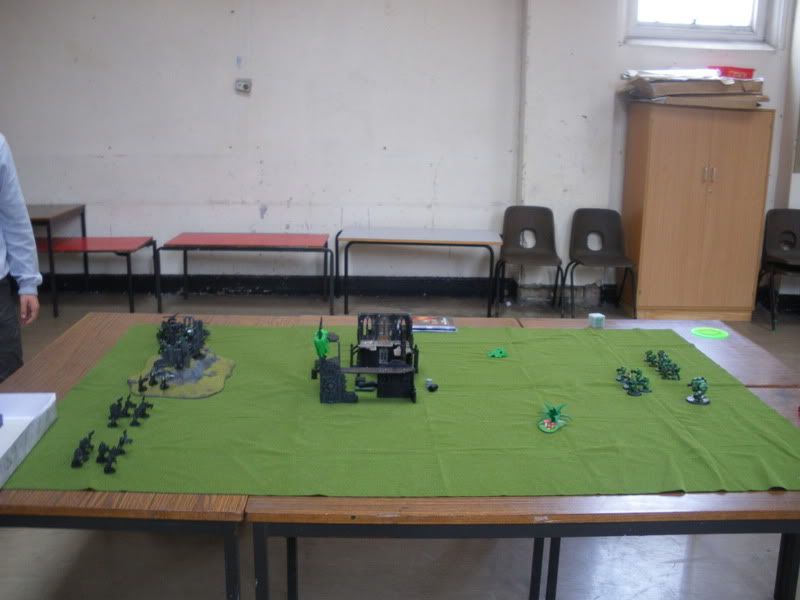
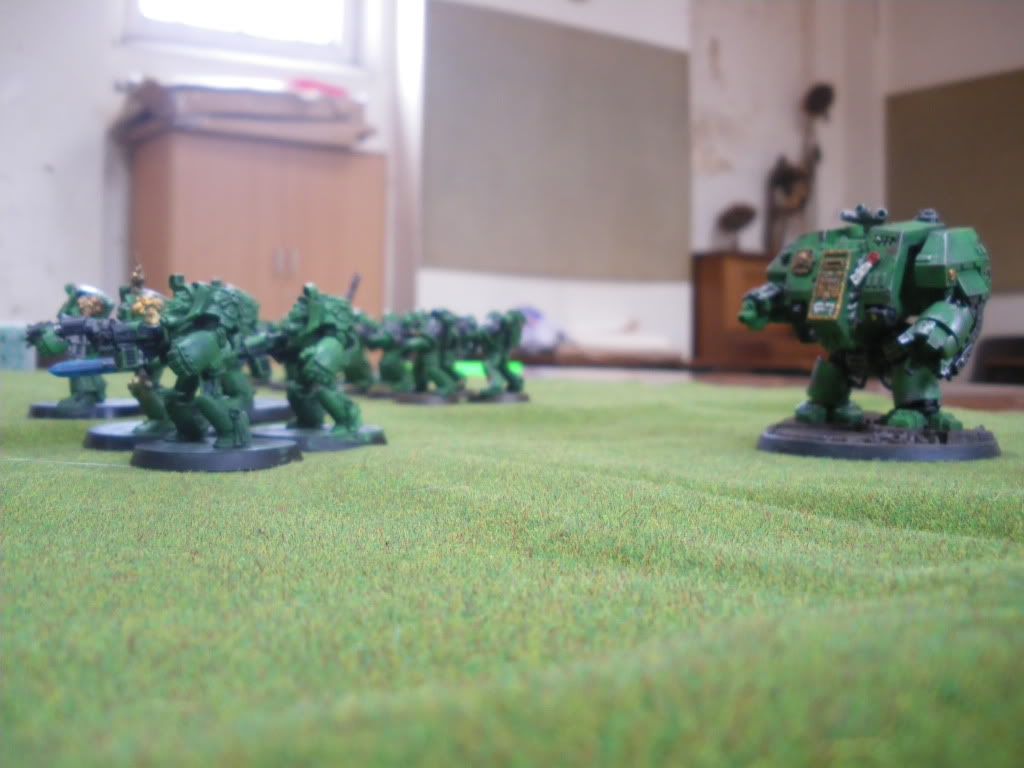
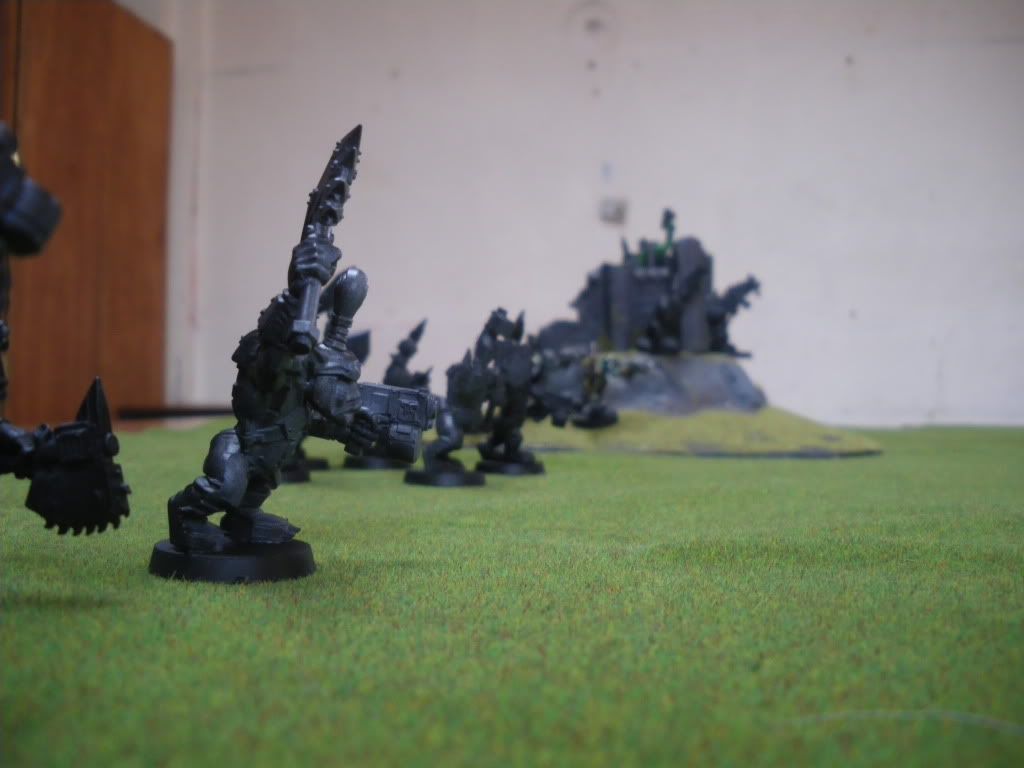
The Terrain and Armies
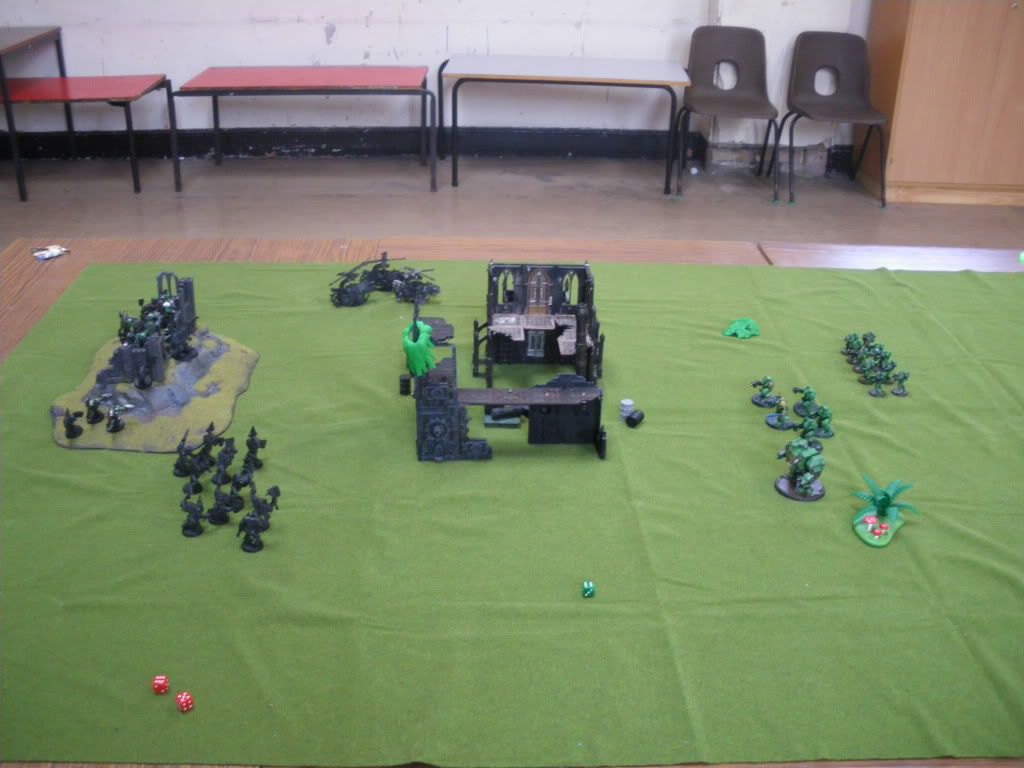
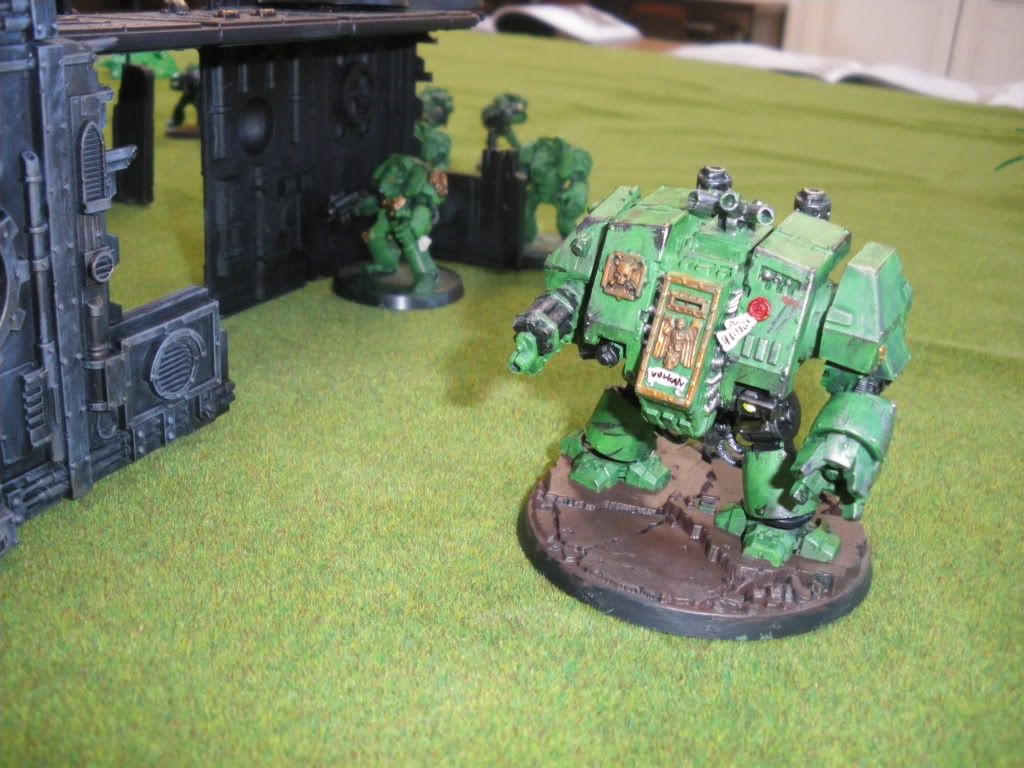
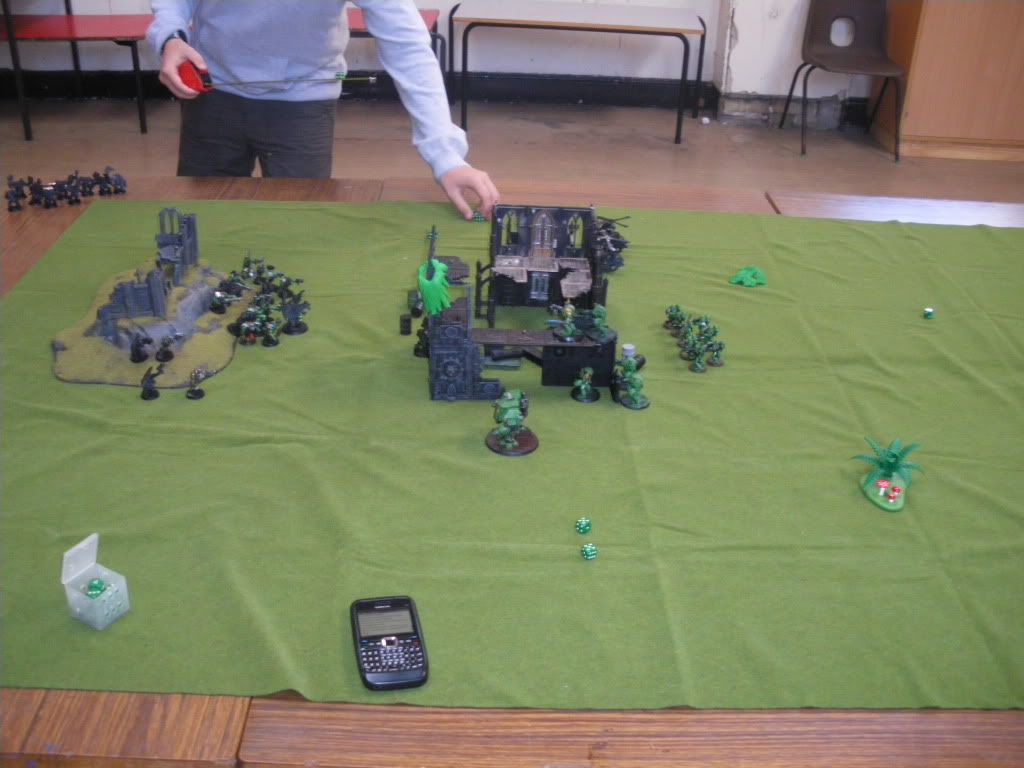
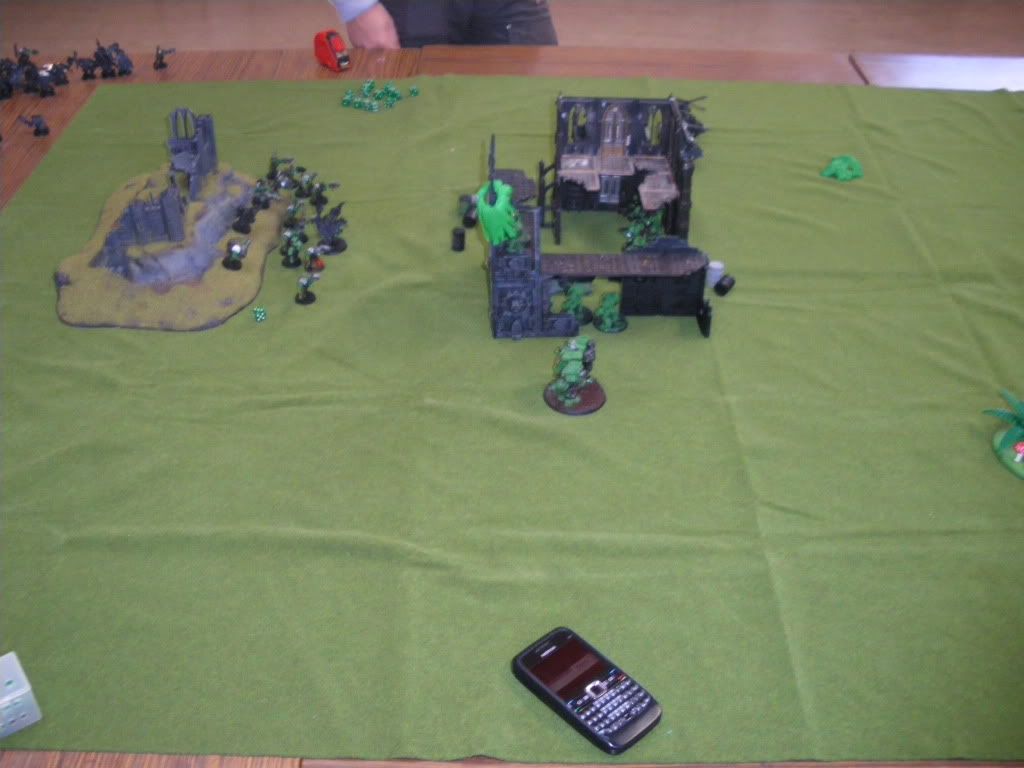
The enemy team seized the initiative and went first. The combined forces of Chaos and Dark Eldar began to sweep into the city. The Space Marines reacted speedily and moved into adequate defensive positions, while my Ironclad Dreadnought blew up the Chaos Predator's primary weapon with its Hunter-Killer missiles.
The end of turn 1 (The fire-warriors, rhino and battlewagon are Dark Eldar proxies)
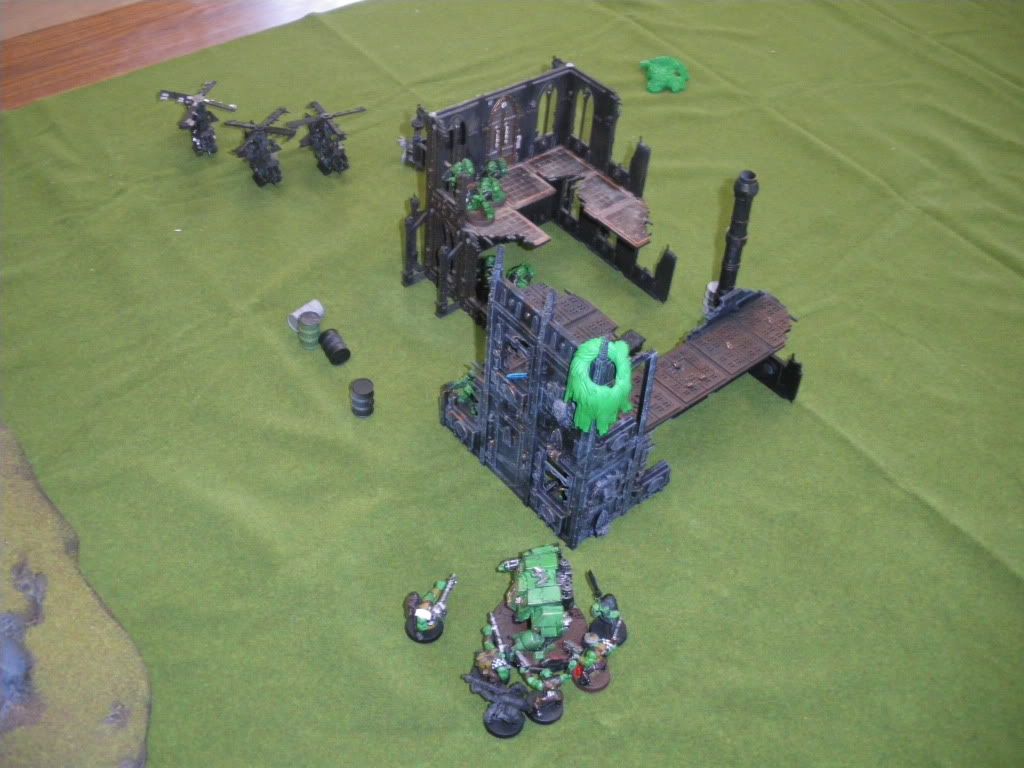
In turn 2, the Dark Eldar raider (or rather the Rhino standing in for it) swooped down into an alley and deployed the Harlequins within. However, on the Space Marine turn Callum brought in one of his Assault Squads and his Sanguinary Guard. His Death Company swooped down and prepared to engage the
Harlequins, while the other troops pressed forward with the assault.
The end of Turn 2
Turn 3 was a decisive round. The Dark Eldar massacred a group of Flesh Tearers Assault Marines and the Salamanders Assault Terminators were fired up by the Khorne Berserkers and lost a man. They retaliated by raging into the Berserker squad and taking out half of them before being cut down to a single Terminator. In the industrial complex, the Salamanders Assault Squad and the Sanguinary Guard obliterated some Kabalite Warriors.
The end of Turn 3
The combined forces of another Berserker squad and the Kabalite warriors finished off the Flesh Tearers Assault Squad but then stumbled into the path of a Death Company.

The Space Marines brought their full fury onto the central plaza and decimated the enemy forces, while the Flesh Tearers Furioso Dreadnought tore through a group of Bloodletters of Khorne. However another Raider full of Wyches stormed through the city and unleashed its bloodthirsty cargo on a Salamanders Tactical Squad.
The end of Turn 4
Turn 5 saw the Death Company get slaughtered by a Dark Eldar Archon and the remains of the Tactical Squad killed off. There were few significant events this turn, and as it was the end of the day this was the final turn. At the end, the forces of darkness won by a mere 49 points.

Monday, 26 December 2011

Battle Report: Skirmish on Medusa V

The sun was high in the sky as M'dlaka led his hardened command squad of veterans toward the spires of one of the ruined cities on Medusa V. In the centre of the city was the remains of a highly sacred cathedral, a shrine which could not be allowed to fall into Xenos hands. M'dlaka and his command squad were captaining a task force comprised of tactical squad Kan'mi and the dreadnought brothers Mareni and Sho'bana. They entered through one of the northern valleys, and came across the settlement. It still lay untouched. Should they hurry, they may be able to enter the city before - A small shockwave caught his attention, coming from the direction of the cathedral. M'dlaka looked toward it and twisted a dial on the side of his helm, zooming in on the shrine's ramparts. There, he caught a flash of purple armour and red lens. It was an XV25 stealth team - The Tau were here...
My new terrain was christened today, so I thought I'd mark the event with a narrative opening to the battle report. It was myself with my Salamanders against Lee and his Tau in a 700pt game. The armies were as follows:
- Salamanders
-- Captain M'dlaka and Command Squad D'loko
-- Tactical Squad Kan'mi
-- Dreadnought Brothers Mareni and Sho'bana
- T'au
-- Commander Battlesuit and two XV8 Crisis Battlesuit Bodyguards
-- Two teams of six Fire Warrior Shas'ui
-- XV25 Shas'vre Stealth Team
-- Five Gun Drones
-- One Piranha
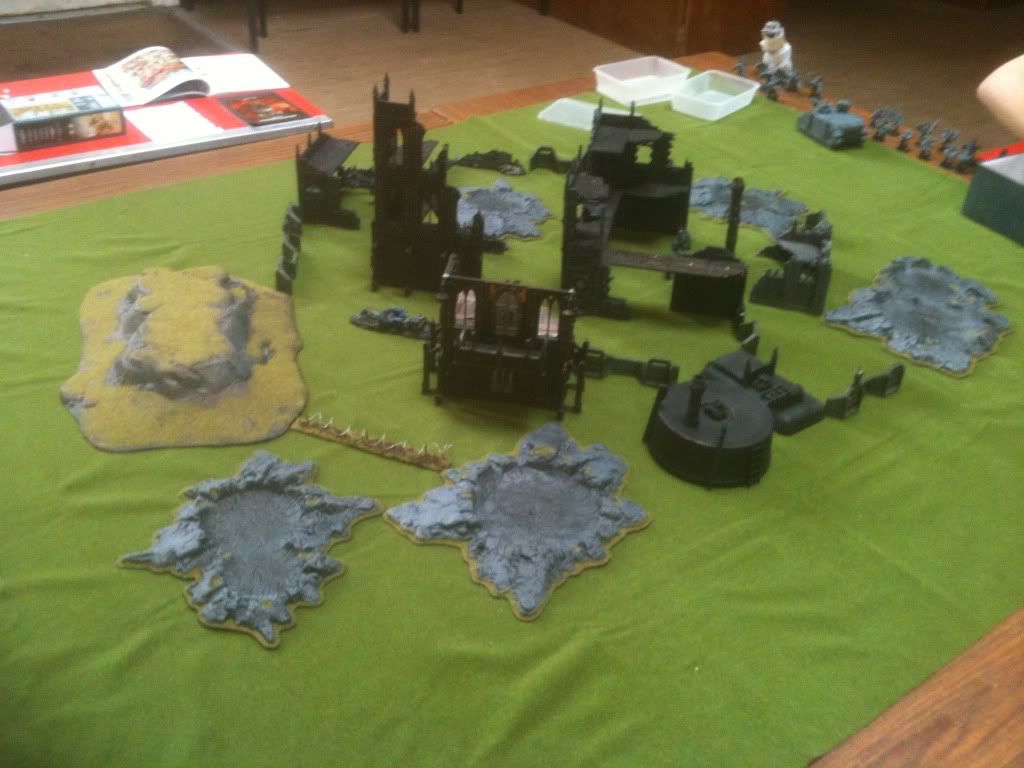
The main terrain setup was as below:
Excuse the blurry photos, the game was intense so we snapped the images off quickly.
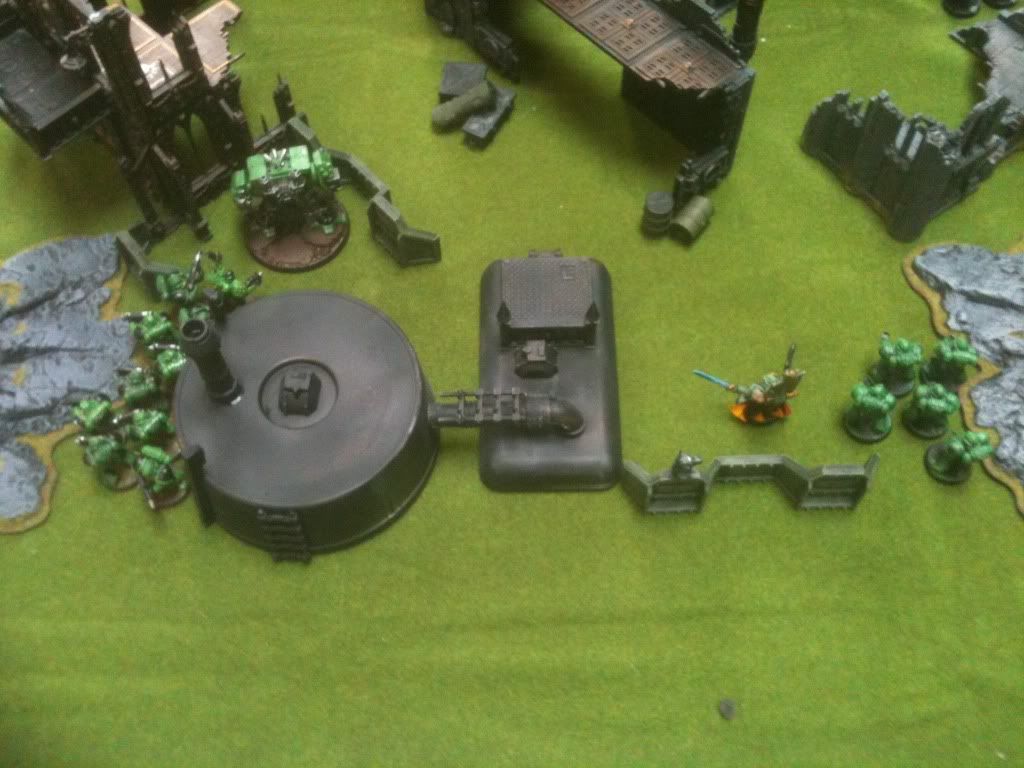
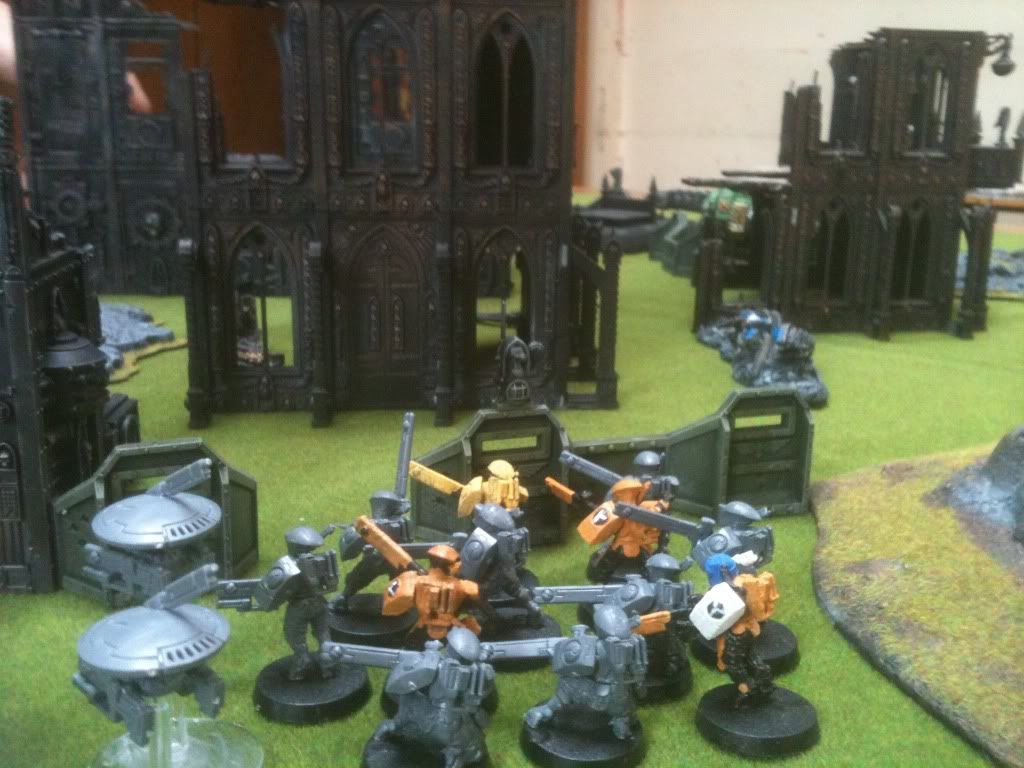
The battle began quickly with the bulk of the Space Marine forces moving into the city through the Industrial complex, with the Command Squad and Dreadnought Sho'bana quickly taking the Basilica Administratum to the top centre right of the photograph. The Tau retaliated by moving in through the Sanctum Imperialis' to the left. The combined force of the Piranha and one of the Battlesuits chewed through Dreadnought Mareni's legs and right arm with seeker missiles and burst cannons. The tactical squad moved deeper into the industrial complex and took shelter in some ruins, while the Stealth Team on top of the cathedral and M'dlaka's command squad on top of the Basilica got caught in a firefight over the rooftops.
Peekaboo, I see you!
Dreadnought Sho'bana took advantage of the diversion by moving round the back of the shrine and getting into a mexican stand-off with another Crisis Battlesuit.
The Dread chipped away two out of three of the Battlesuit's wounds before the Commander blew him up. Down below the tactical squad fired off a few shots at the Piranha and the other Battlesuit before taking casualties and backing off. The squad then made a tactical run across open ground to regroup with the Command Squad (sans its sergeant and standard bearer, who had been taken down by a Fire Warrior team's pulse rifles). The gamble paid off well, with them surviving the explosion of Brother Mareni after his disabled shell was finally destroyed and only having one casualty under Tau fire. The command squad and the tactical squad switched places, so the former was able to get into the cathedral and the latter could draw the incoming fire away. The tactical squad survived for a while, but eventually succumbed to the blasts.
*Insert Heroic Music Here*
The command squad clambered to the top of the cathedral and entered into a fierce close-combat fight with the stealth team. They emerged victorious, and the shrine had been liberated from the immediate Xenos incursion. 

However, they still had to ensure the others would not reclaim it, others who straight after the fight shot the company flamer in the head and sent him tumbling from the top of the ruins. Captain M'dlaka and his Company Champion and Apothecary then clambered down from the tower and entered onto the battlefield to meet their destiny.
The Piranha attempted to flank the trio, but ended up travelling to the opposite end of the board for no reason (Don't ask). M'dlaka shot the wounded Battlesuit square in the face, but his companions were gunned down and he retreated to the top of a nearby building. There, he realised Tau forces were going to overwhelm the city, and he had to stop the cathedral from falling into enemy hands. His last act before the searing heat of the returning Piranha's seeker missiles melted through his power armour and found charcoal-coloured flesh was to arm a bomb at the top of the tower, ensuring that the shrine would remain unpurified.
THE RESULT:
- Salamander Casualties

-- Captain M'dlaka and Command Squad D'loko
-- Tactical Squad Kan'mi
-- Dreadnought Brothers Mareni and Sho'bana
- T'au Casualties
-- One XV8 Crisis Battlesuit Bodyguard
-- Two Shas'ui Fire Warriors
-- One XV25 Stealth Team of Three
This image sums up the game perfectly.
VERDICT: The best game of Warhammer I've ever played.

Tuesday, 11 October 2011

More 40k stuff!

After a fairly long time, I have some new updates on my Warhammer 40,000 games. It's mostly a gallery of the most recent game but there's also some info about it.

This game was Salamanders, Tau and Chaos battling it out inside a former Ultramarines settlement.

The Setup
It was a 500pt game, and my Salamanders' forces were comprised of a Commander, a Tactical squad, a Combat squad and my ever faithful Dreadnought. Lee's Tau deployed a Crisis Battlesuit, a Fire Warrior team and a gun drone team. He also had a Stealth team in reserve. Guy's Chaos Space Marines fielded an army of a Rhino, five Chaos Space Marines, eight Khorne Berserkers and five Possessed Marines. Guy was also extremely lucky and rolled a six prior to the game for his Possessed, meaning they all had power weapons.

The Salamanders enter the city.
Tau survey the scene.
It was a very enjoyable game. Due to some unlucky rolls on my part...

Very unlucky.
Very very unlucky
... I was out first. There was then a very intense battle between the Tau and the Chaos, until eventually the time was up and Guy and Lee called it a draw in the name of sportsmanship.

Next time: I air my Citadel Realm of Battle Gameboard for the first time...

Thursday, 1 September 2011

Warhammer 40,000 Battle Report - Battle for Chapel Manufactorum


Today, myself and friend Callum set out to play a Warhammer 40,000 match... I collect the Salamander chapter of the Space Marines and he collects Orks. With not much scenery to spare, we decided to play a limited game with only 500 or so points worth of army.

THE SETUP

The setup
On my side I was using a Tactical Squad of 10 Marines, including a sergeant with chain-sword, a marine with a flamer and a marine with a multi-melter, a Terminator Squad and a Dreadnought.

My Salamanders
Callum had a mob of 20 Ork Boyz, a group of 10 Ork Nobz, 3 Deffkopters and an Ork Warboss.

Callum's Orks
The synopsis we decided upon was that Orks had taken a ruined church on a hill overlooking a small manufactorum complex. A small task force of Salamders had been dispatched to deal with them.

The Manufactorum Complex, comprised of the Manufactorum and an overlooking Administration building
After rolling, I got highest so got first turn...

TURN 1
Not much happened this turn. My Salamanders pushed forward a little way and the Ork Nobz and Deffkopters moved to intercept.

The end of Turn 1
TURN 2
I moved my Marines further toward the complex, while the Orks managed to get close enough to begin firing. Despite a lethal attempt by the Deffkopters, the Tactical Squad came out unharmed. The Nobz also attempted to shoot the Terminators, but you can guess how that turned out.

Pictured: A hard-nut.
The result of turn 2
TURN 3
Finally, the action began! I moved straight in and annihilated one of Callum's two Nob squads with my Dreadnought. Apparently assault cannon rounds are quite adept and massacring oversized goblins. The Terminators were not so lucky, as despite a valiant attempt to hit the Nobz apparently you can't shoot through solid walls. Callum attempted retaliation with the Deffkopters and the squad of Boyz but to no avail.

The result of turn 3
TURN 4
I finally got my Terminators into the manufactorum, and in celebration shot the Ork warboss down to one wound. The Dreadnought continued to kick some ass and wiped out the rest of the Ork nobz bar one.

This guy is my favourite unit. Seriously, he freakin' rocks.
Credit where credit is due though. The brave little Ork Nob succeeded his leadership test and stood firm.

Not bad, little Ork. Not bad.
At last, Callum then finally took out some of my marines. One of his Deffkopters got a lucky hit in and blew up one of the marines in my tactical squad. Then, after leaving the sanctuary of their hillside fortress, the Ork Boyz took out another one with their three Big Shootas. Unfortunately, brave little last Ork Nob didn't manage to kill anything.

The result of turn 4
TURN 5
With all my marines now safely housed within the manufactorum complex, I used my outside guard, the Dreadnought, to mow down four Ork Boyz. The hiding Terminators finished off the last Nob and the tactical squad took down another two Ork Boyz. Callum's Ork Boyz then unleashed the fury of twelve pissed off green-skins and their hulking master, and let loose a firestorm of bullets. All of which either bounced off the walls or the marine's armour. Oh well...

The result of turn 5
TURN 6
My Dreadnought stayed on form and took down a further five Ork Boyz. However, keeping up the good work, the Terminators and the Tactical Squad then finished off most of the others, including the Ork Warboss, leaving about six Boyz. These six then decided to seek retribution by charging the Dreadnought and taking down a leg and its assault cannon. Not to be deterred, the Dreadnought still took down two more Ork Boyz The Deffkopters tried to get the Terminators, who were once again saved by walls.

The result of turn 6
TURN 7
The Tactical Squad and Terminators then proceeded to blow the living daylights out of the Deffkopters. At which point the Orks, or rather Callum, surrendered.

THE RESULT
Space Marine Casualties:
2 Space Marines

Ork Casualties:
16 Ork Boyz,
10 Ork Nobz,
1 Ork Warboss,
3 Ork Deffkopters

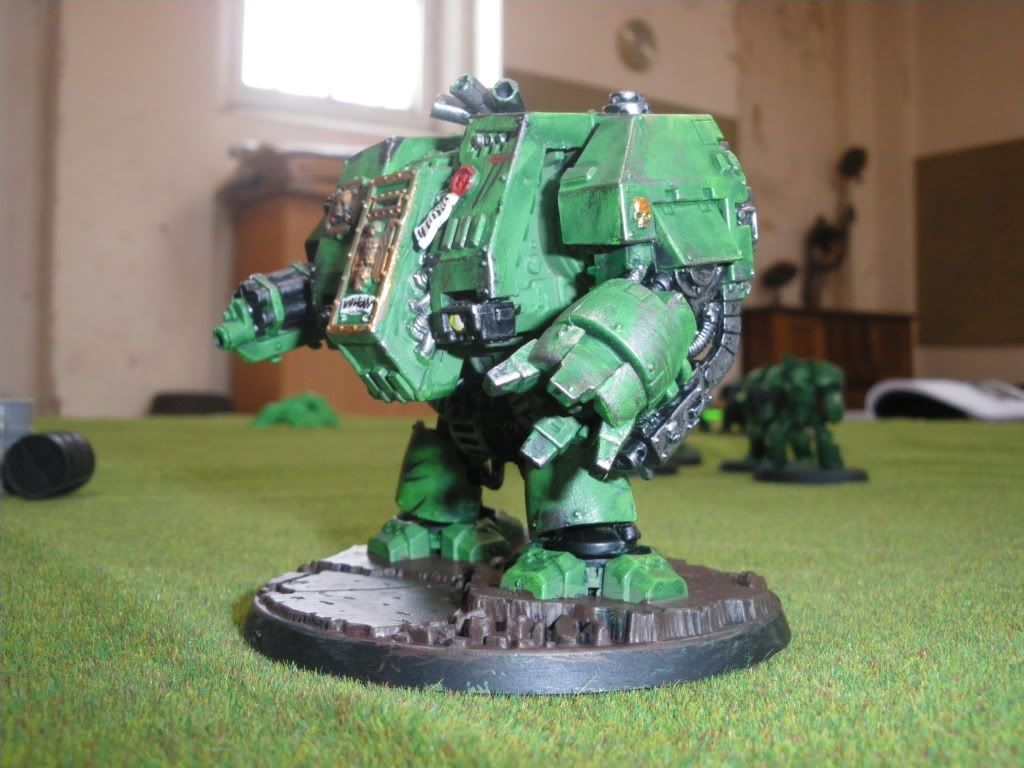
One leg down, one arm down, still awesome.
THE VERDICT
We need more terrain...