The sun was high in the sky as M'dlaka led his hardened command squad of veterans toward the spires of one of the ruined cities on Medusa V. In the centre of the city was the remains of a highly sacred cathedral, a shrine which could not be allowed to fall into Xenos hands. M'dlaka and his command squad were captaining a task force comprised of tactical squad Kan'mi and the dreadnought brothers Mareni and Sho'bana. They entered through one of the northern valleys, and came across the settlement. It still lay untouched. Should they hurry, they may be able to enter the city before - A small shockwave caught his attention, coming from the direction of the cathedral. M'dlaka looked toward it and twisted a dial on the side of his helm, zooming in on the shrine's ramparts. There, he caught a flash of purple armour and red lens. It was an XV25 stealth team - The Tau were here...My new terrain was christened today, so I thought I'd mark the event with a narrative opening to the battle report. It was myself with my Salamanders against Lee and his Tau in a 700pt game. The armies were as follows:
- Salamanders
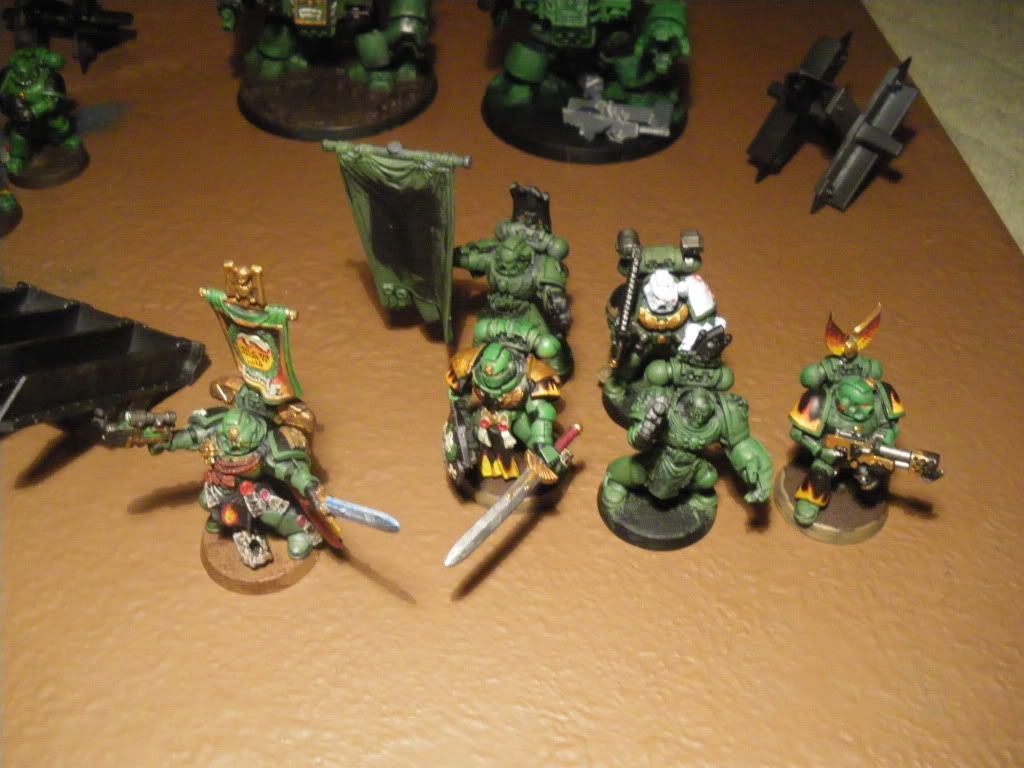
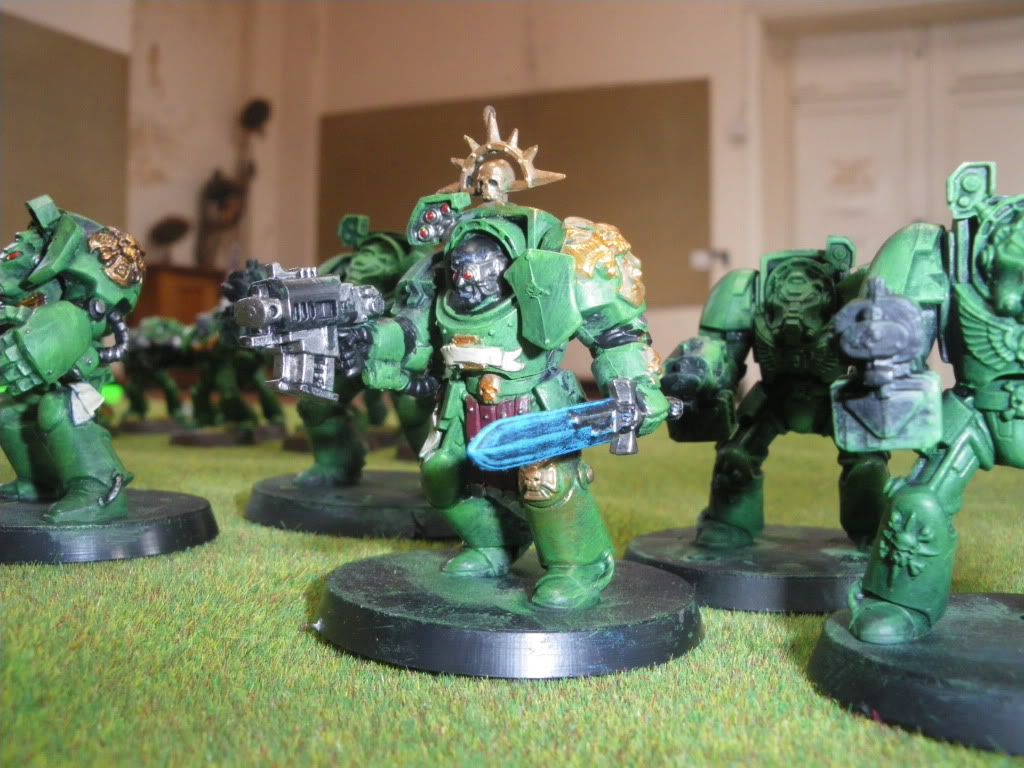
-- Captain M'dlaka and Command Squad D'loko
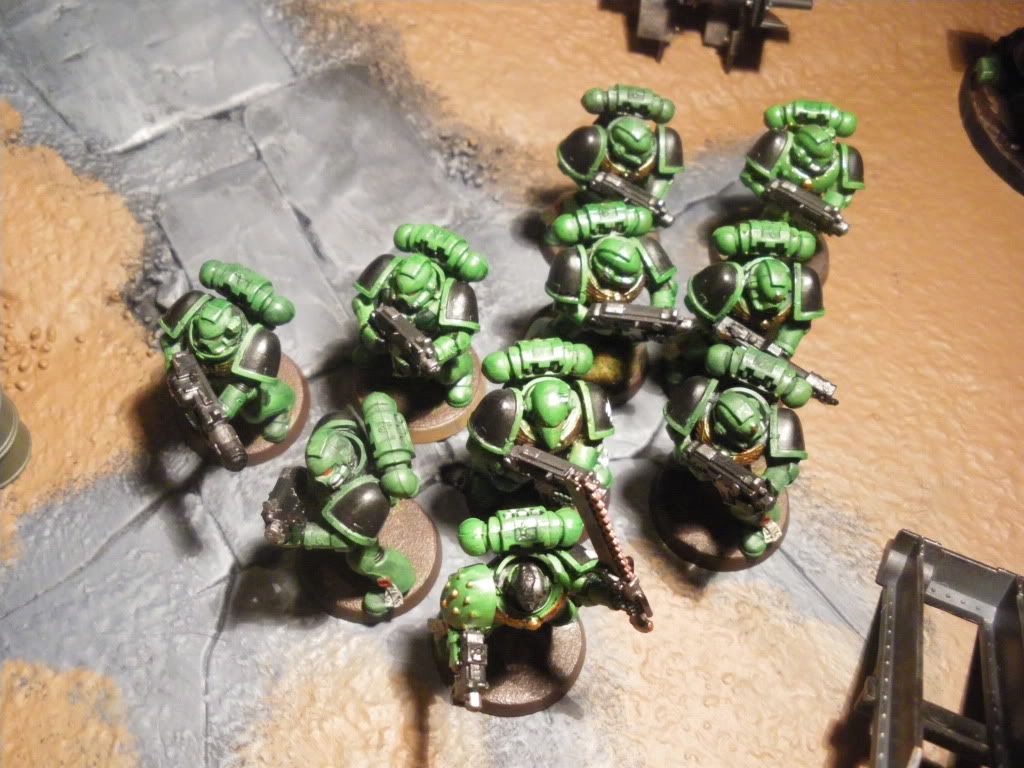
-- Tactical Squad Kan'mi
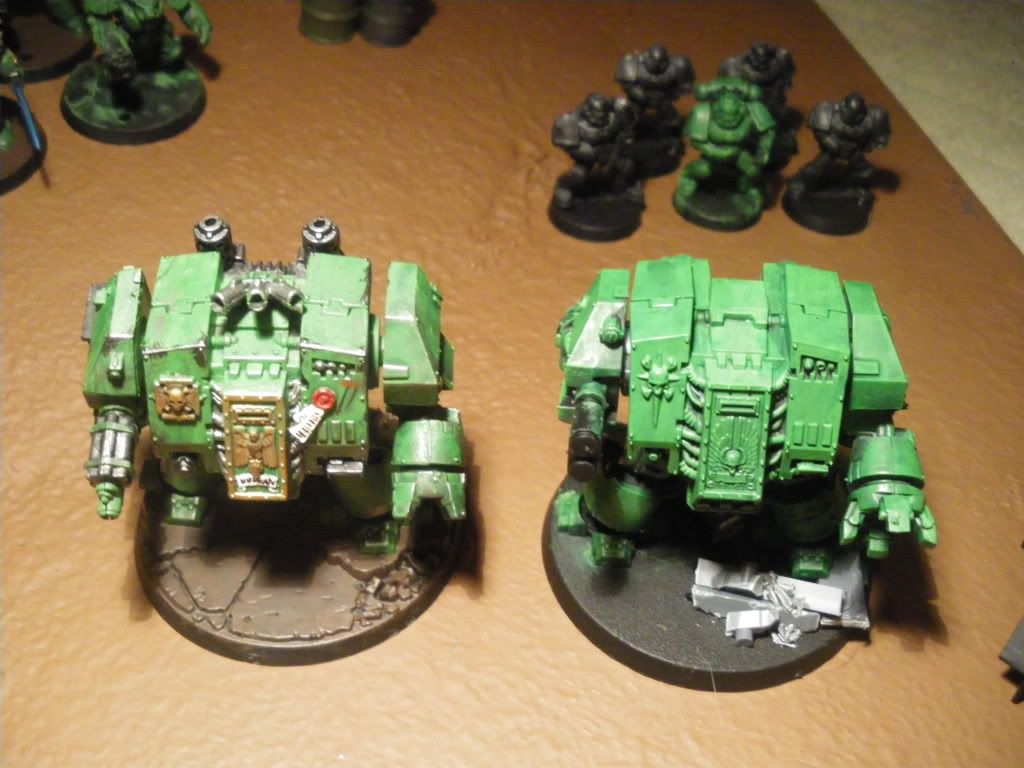
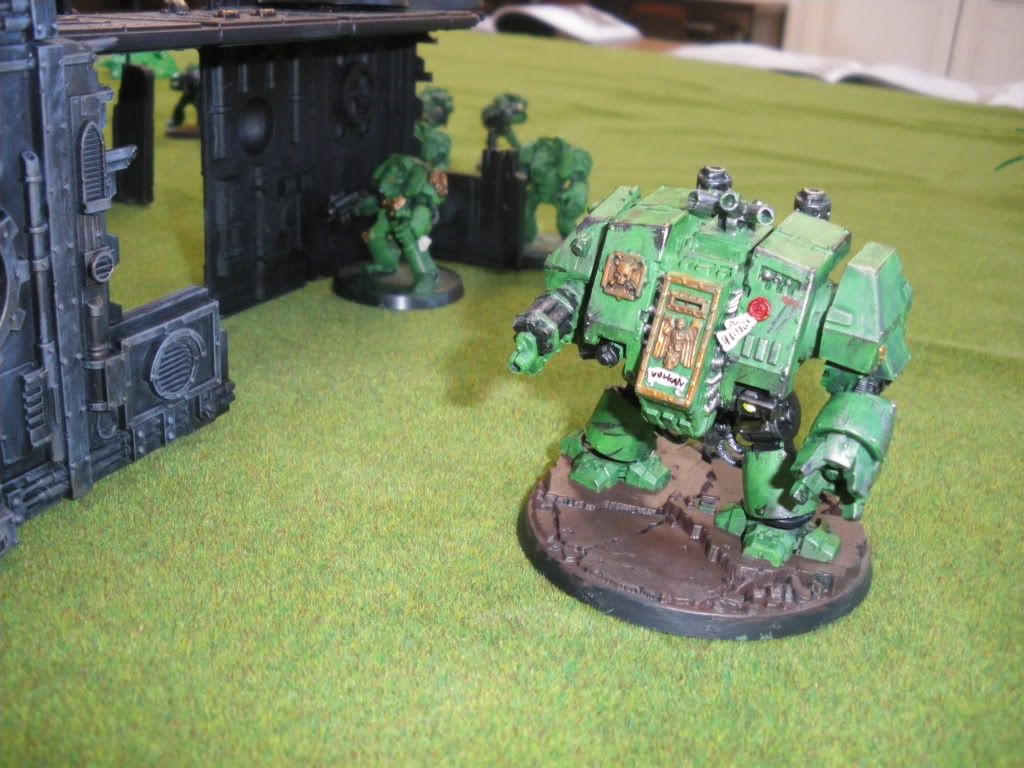
-- Dreadnought Brothers Mareni and Sho'bana
- T'au
-- Commander Battlesuit and two XV8 Crisis Battlesuit Bodyguards
-- Two teams of six Fire Warrior Shas'ui
-- XV25 Shas'vre Stealth Team
-- Five Gun Drones
-- One Piranha
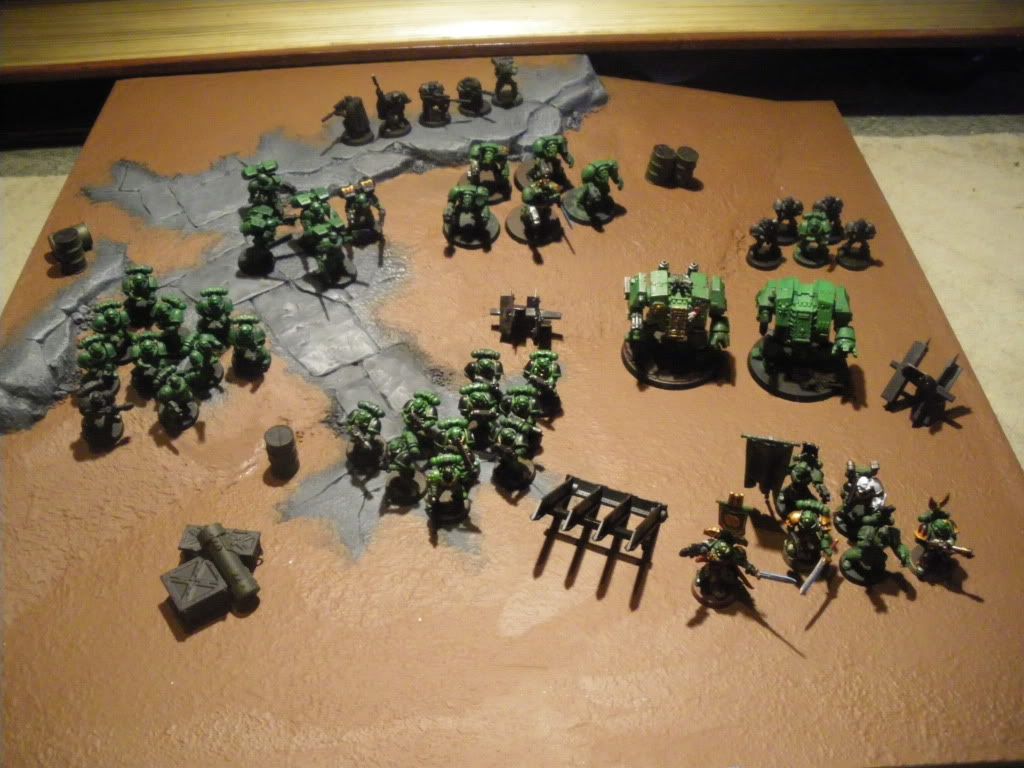
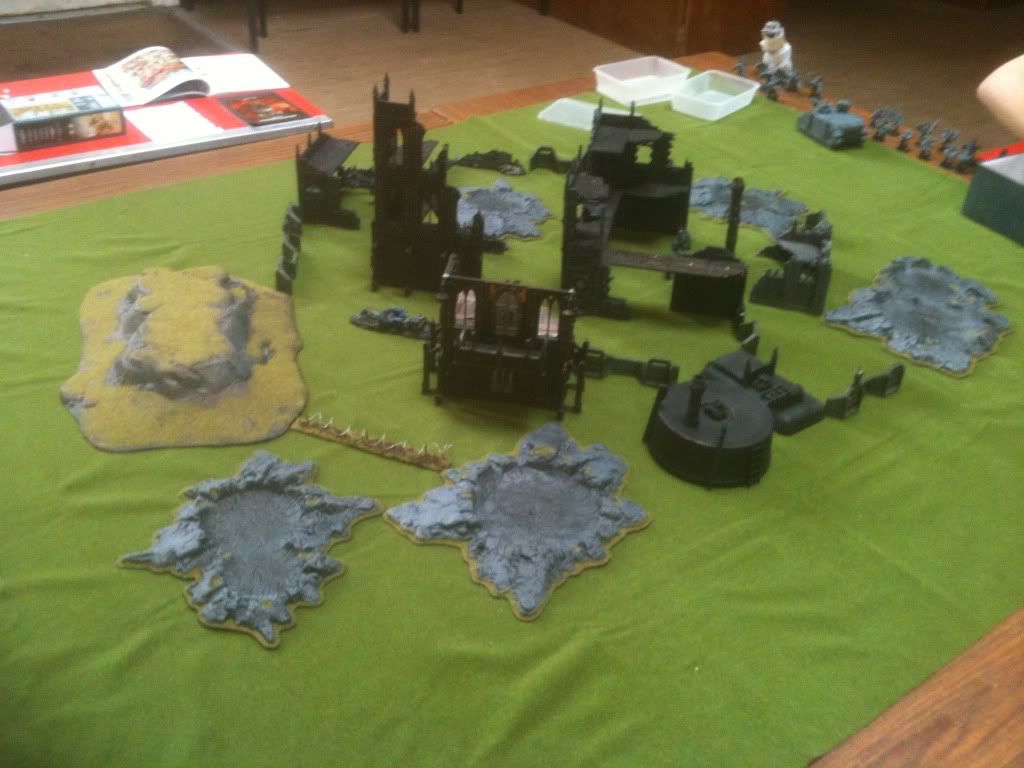
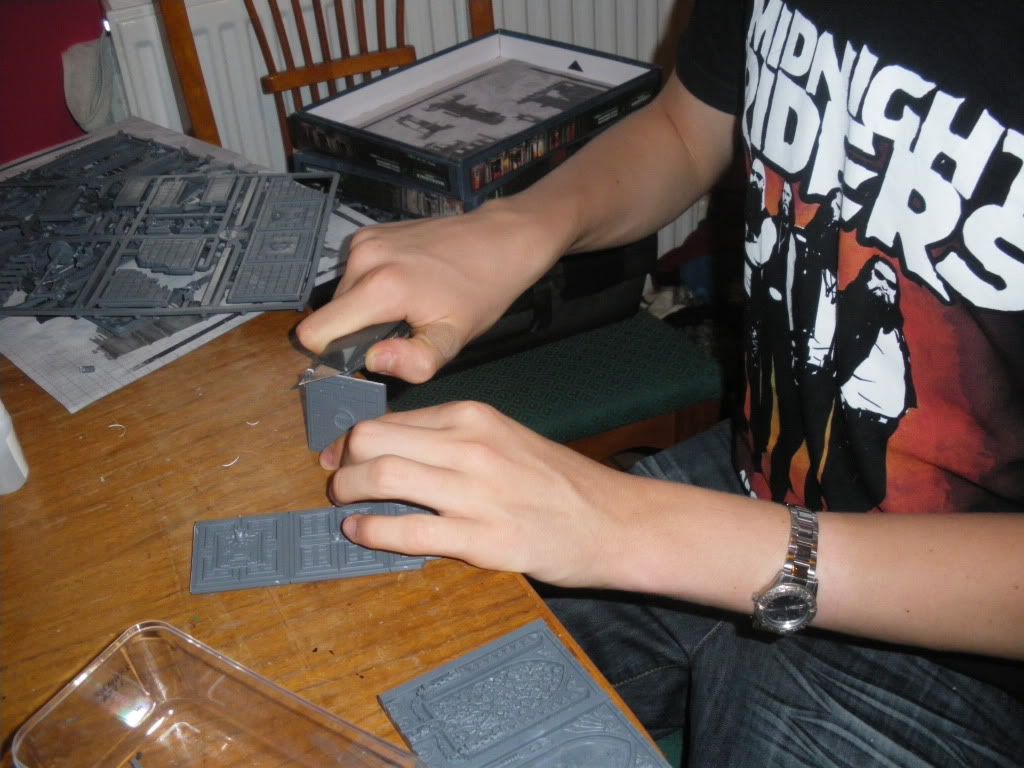
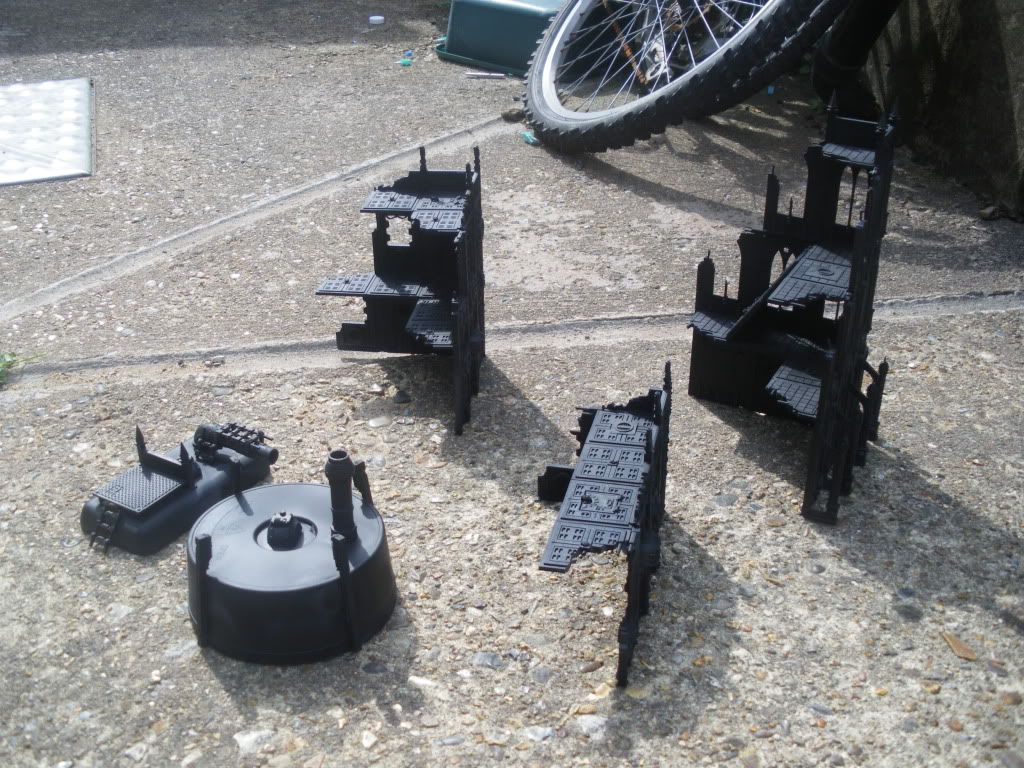
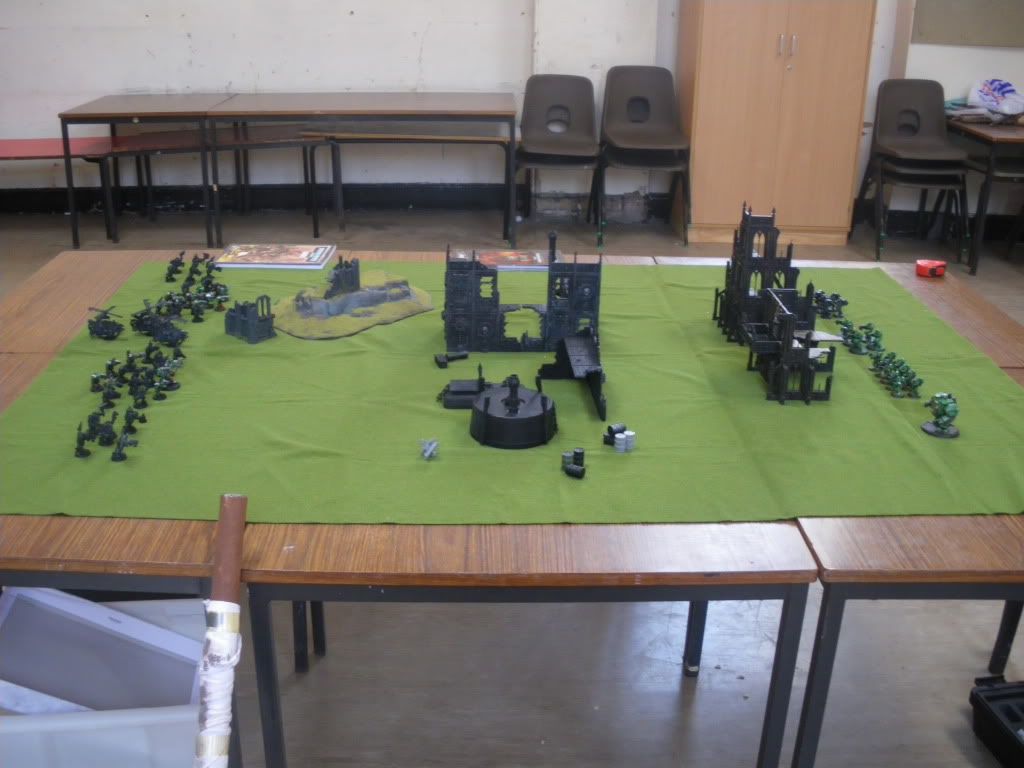
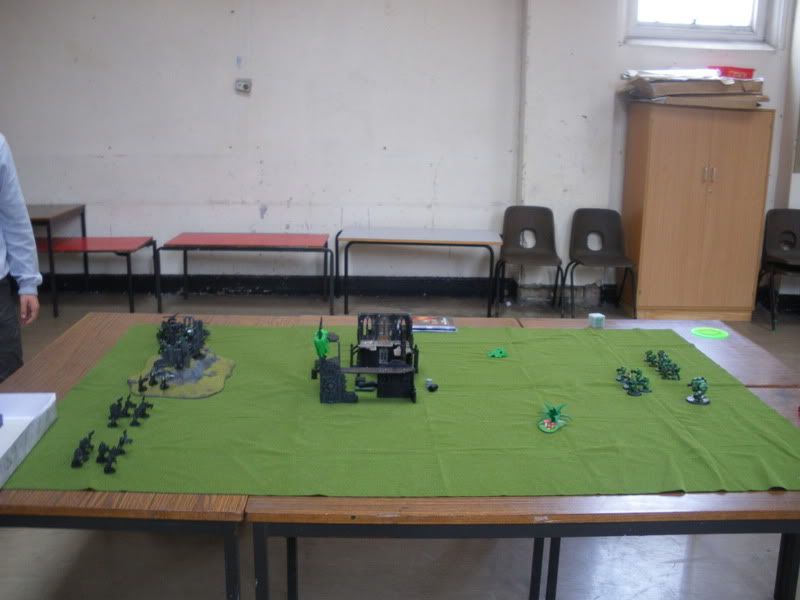
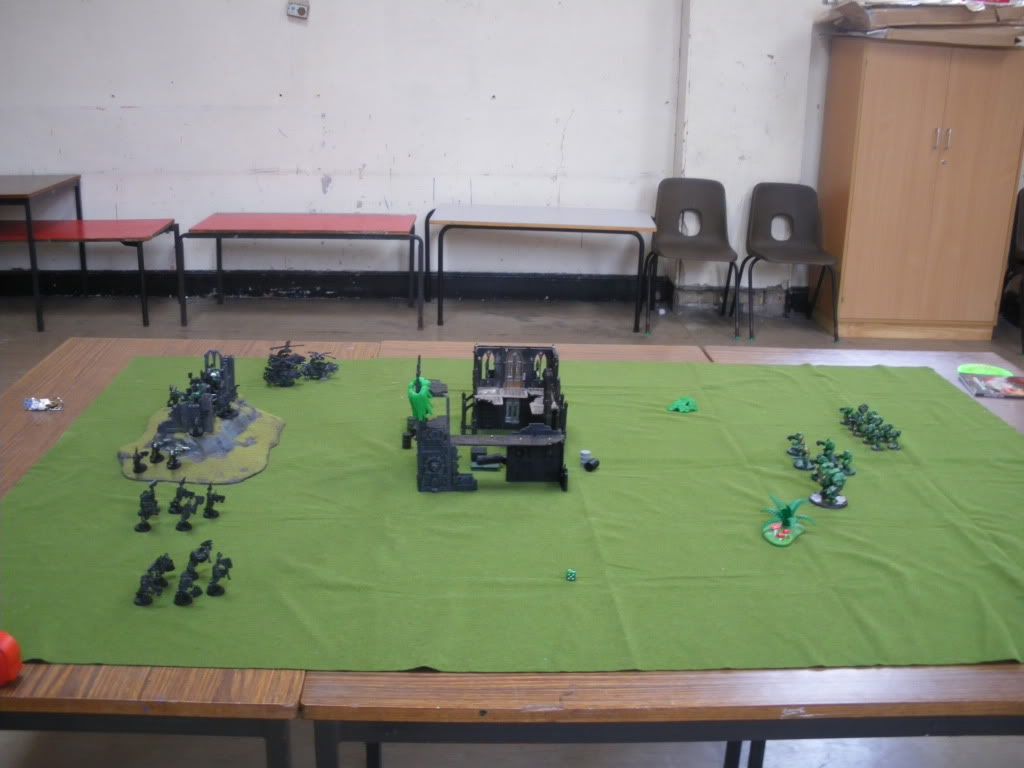
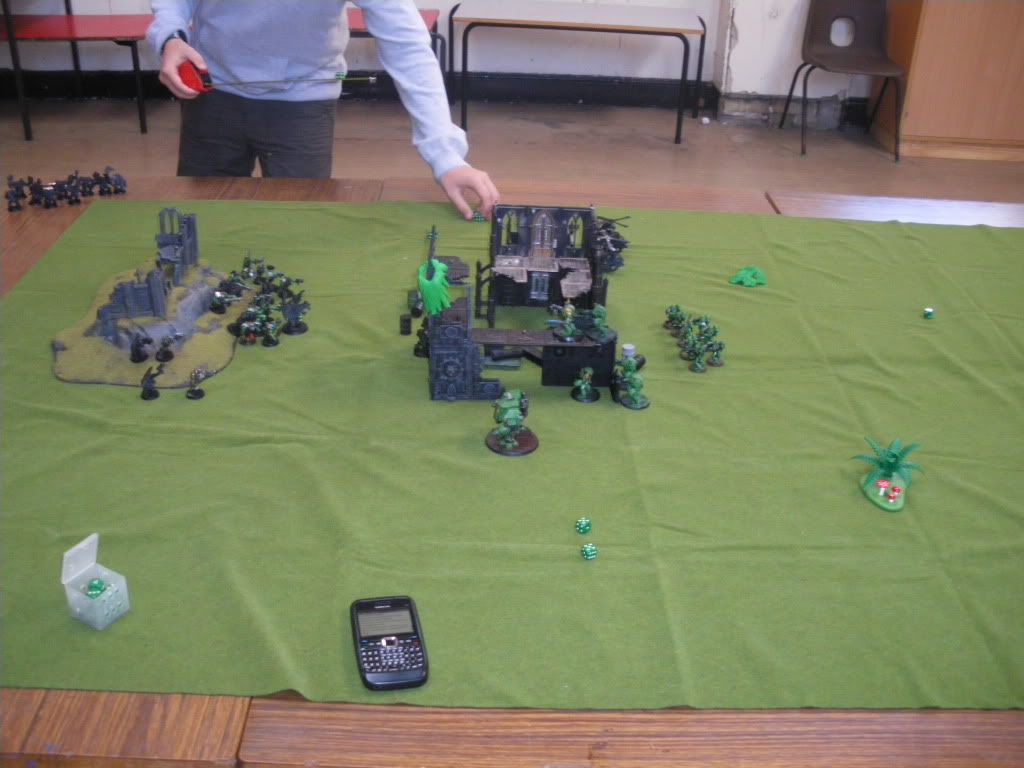
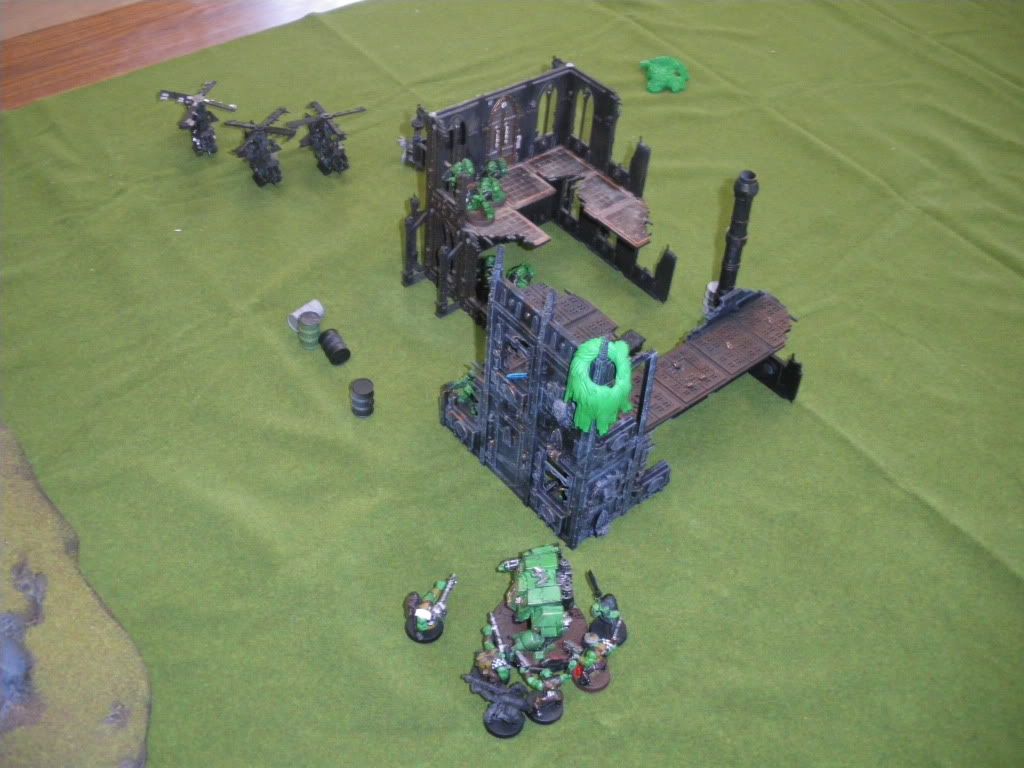
The main terrain setup was as below:
 |
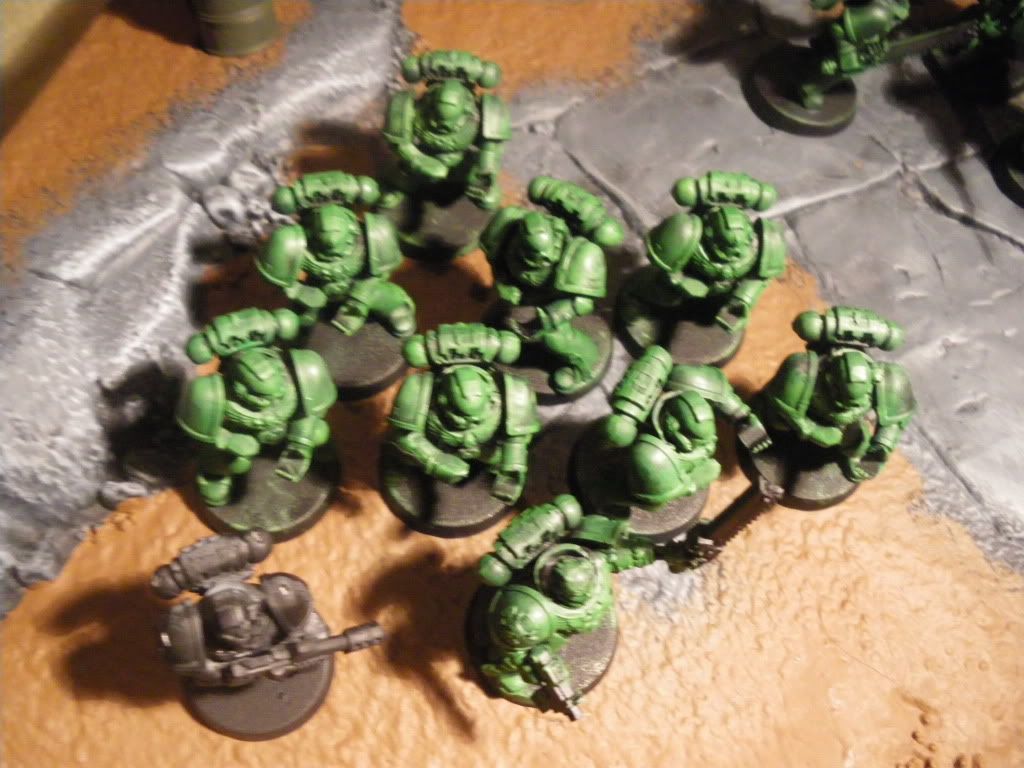
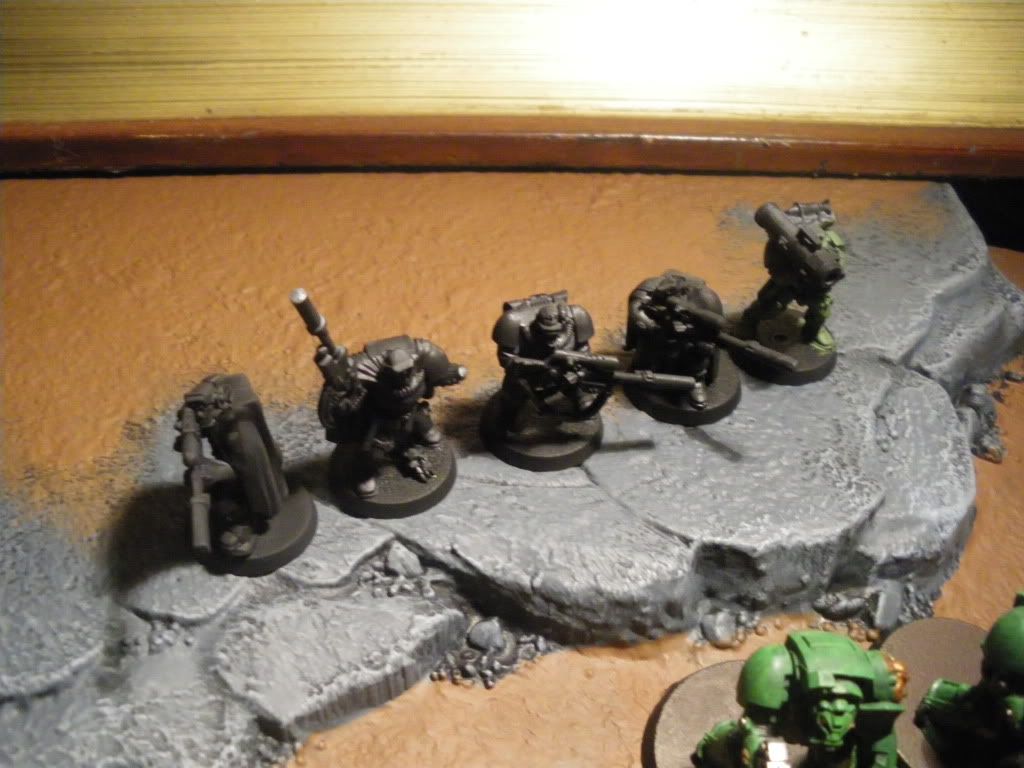
| Excuse the blurry photos, the game was intense so we snapped the images off quickly. |
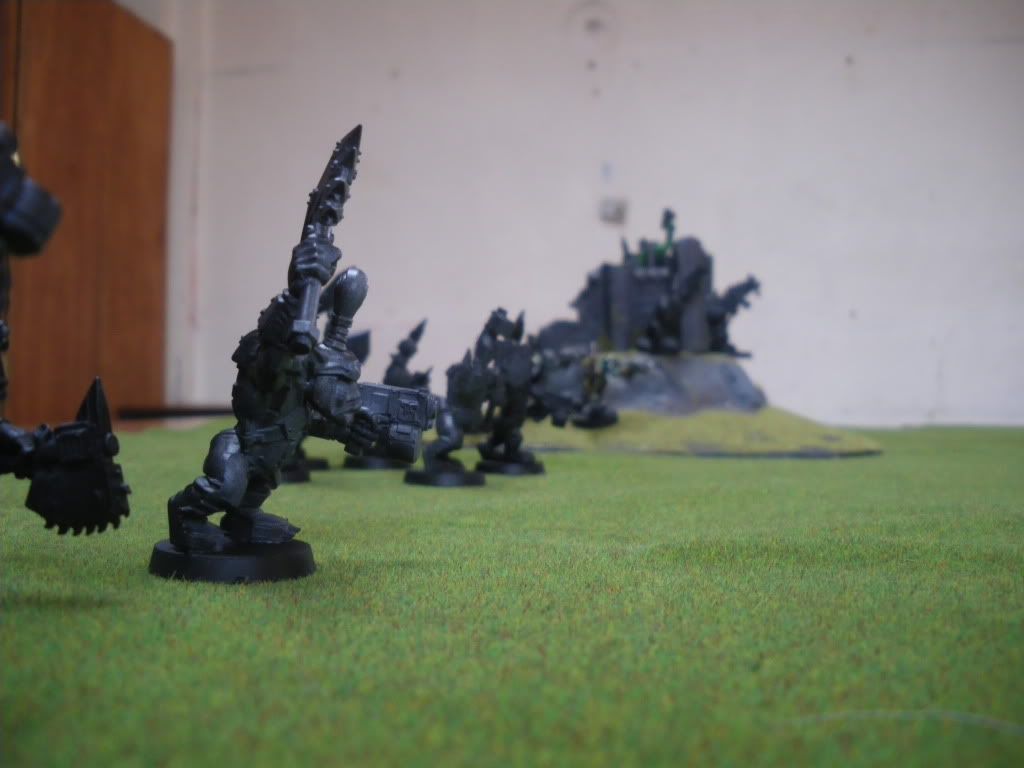
 |
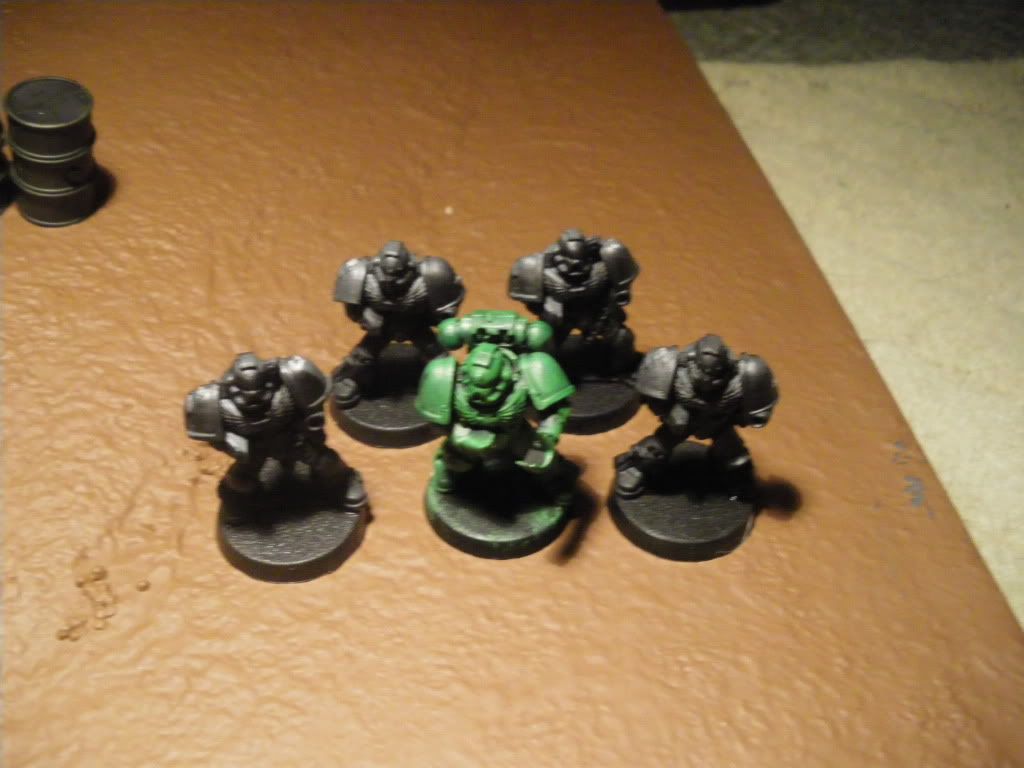
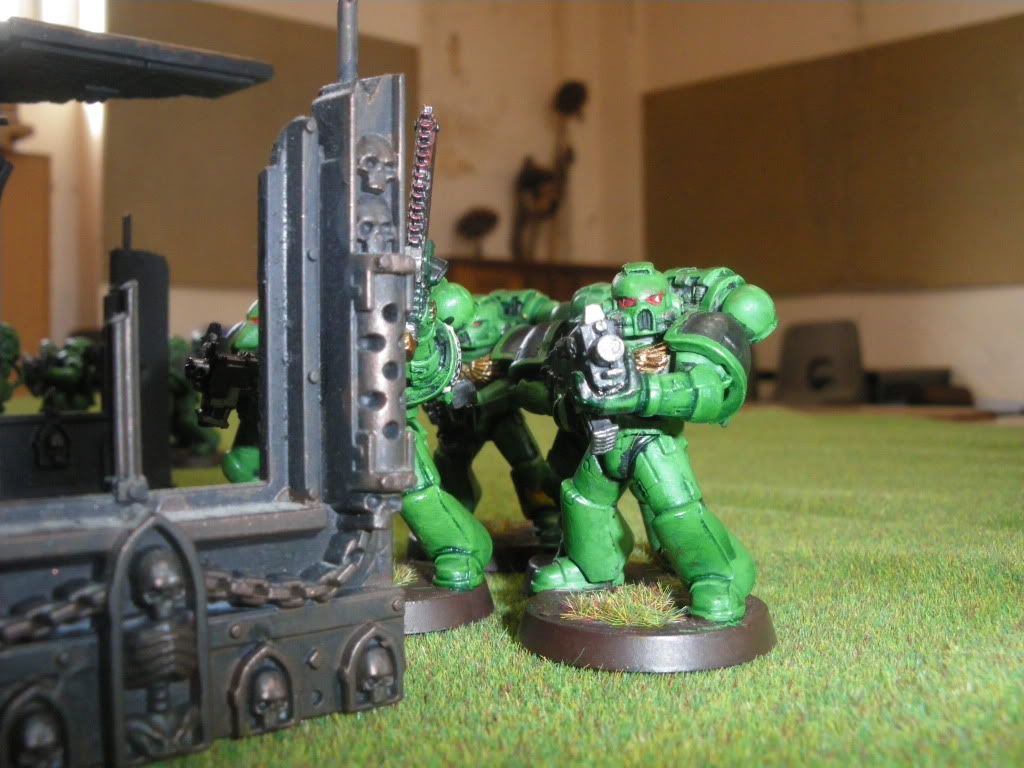
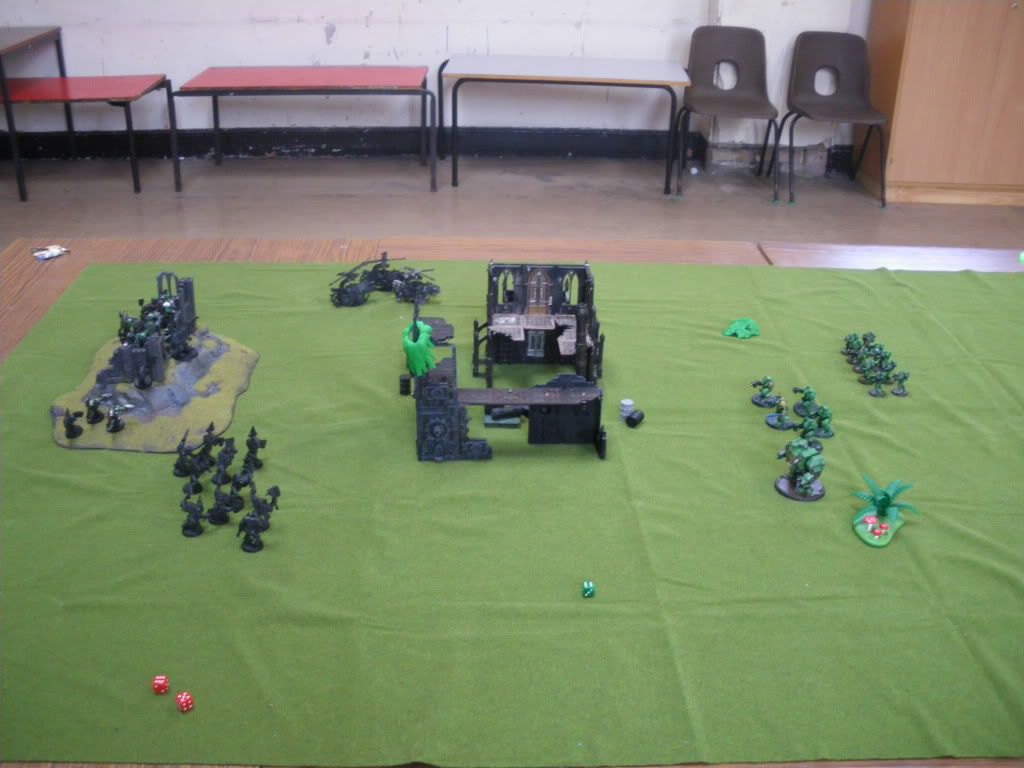
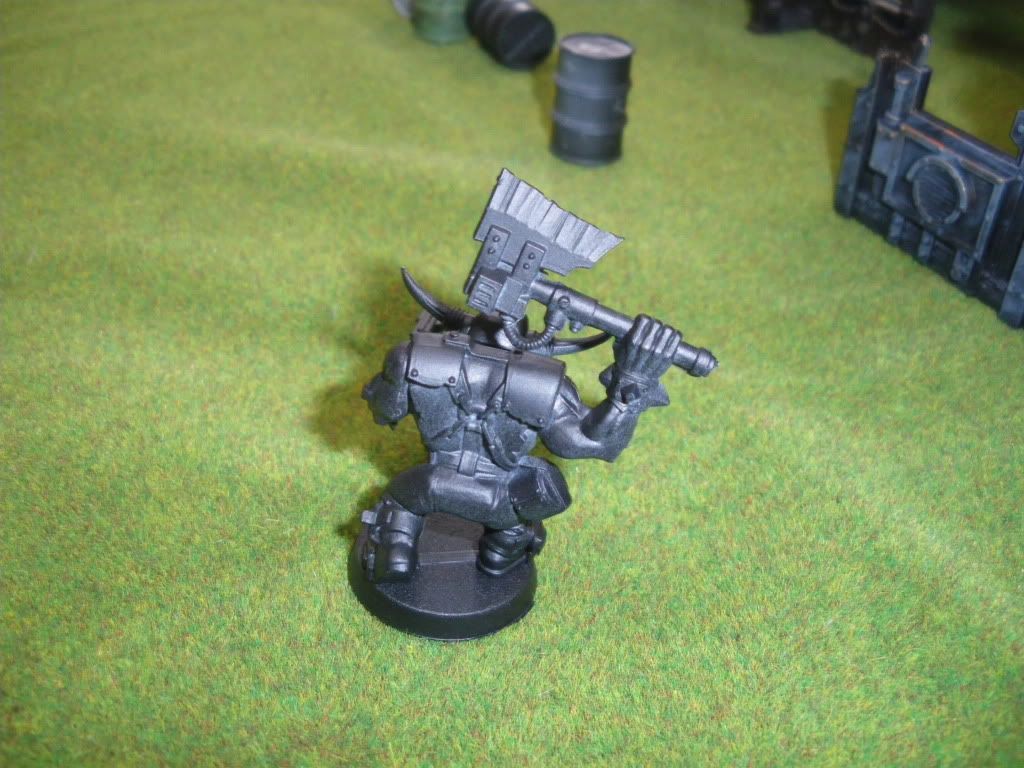
| Peekaboo, I see you! |

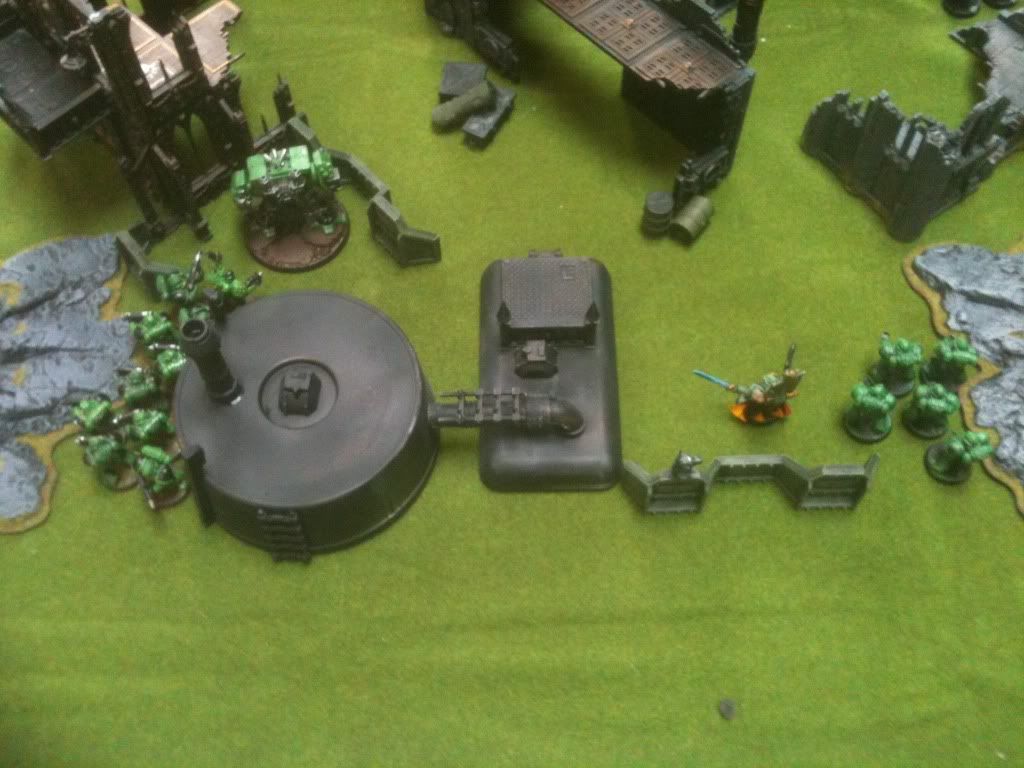
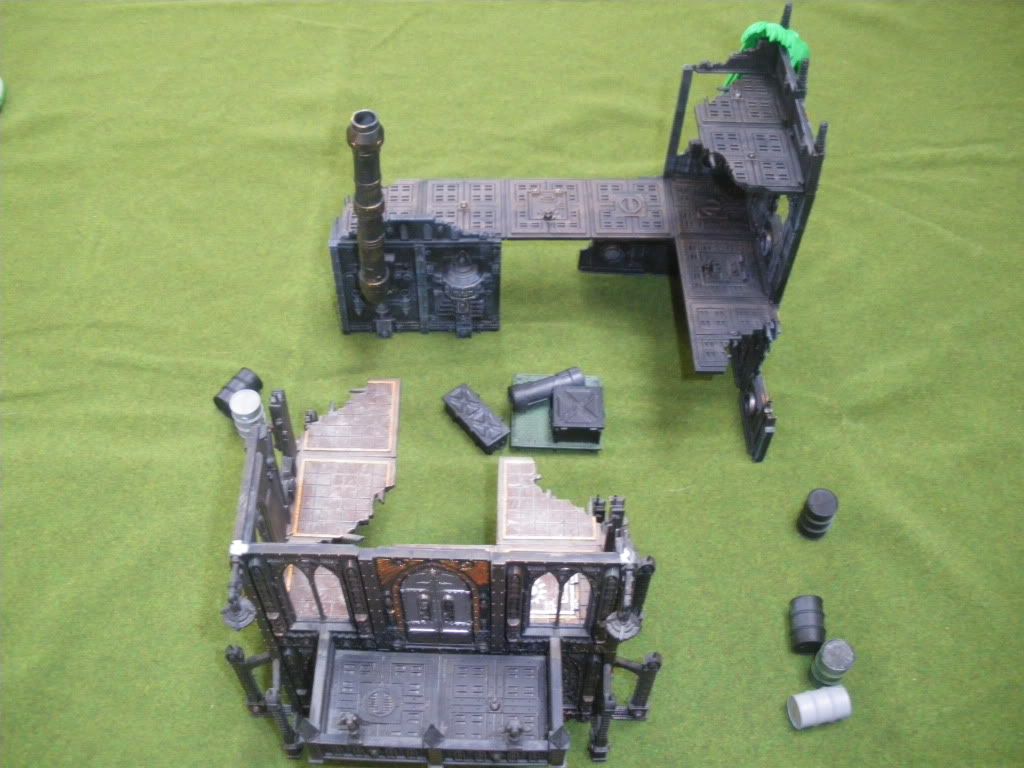
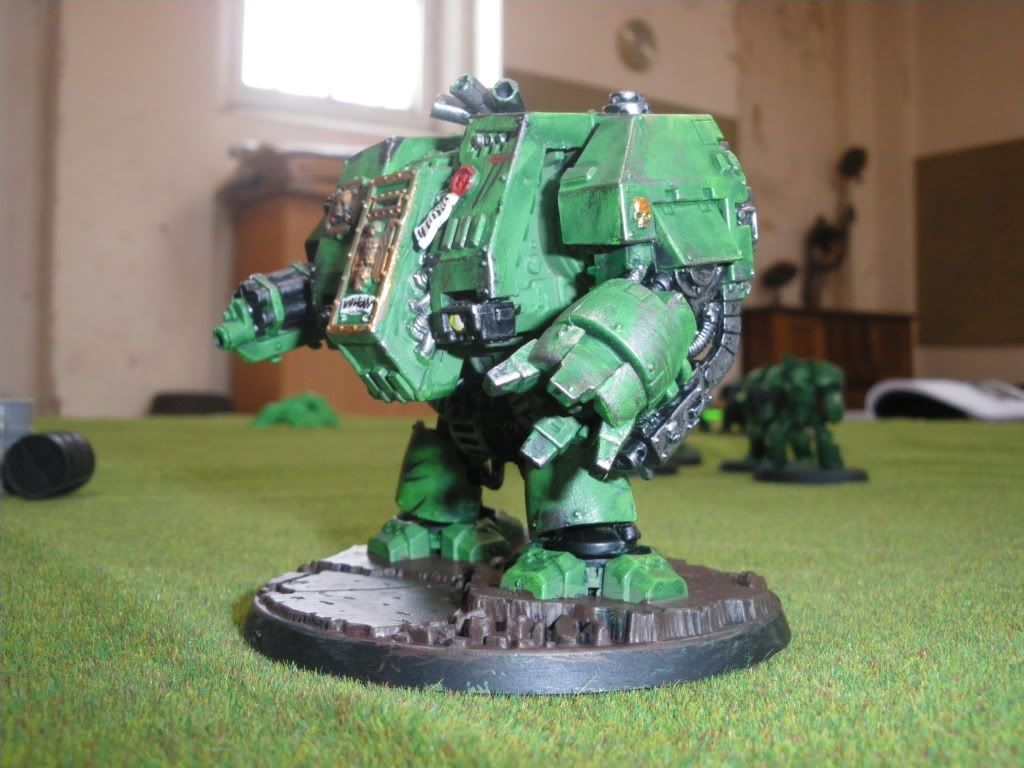
 |
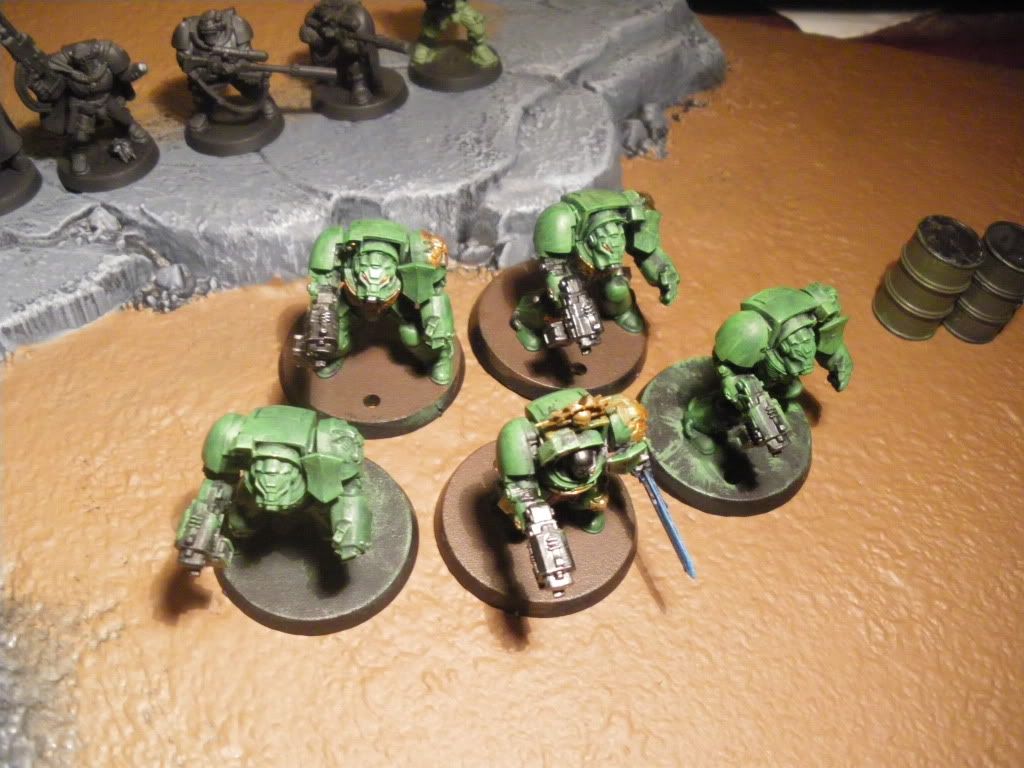
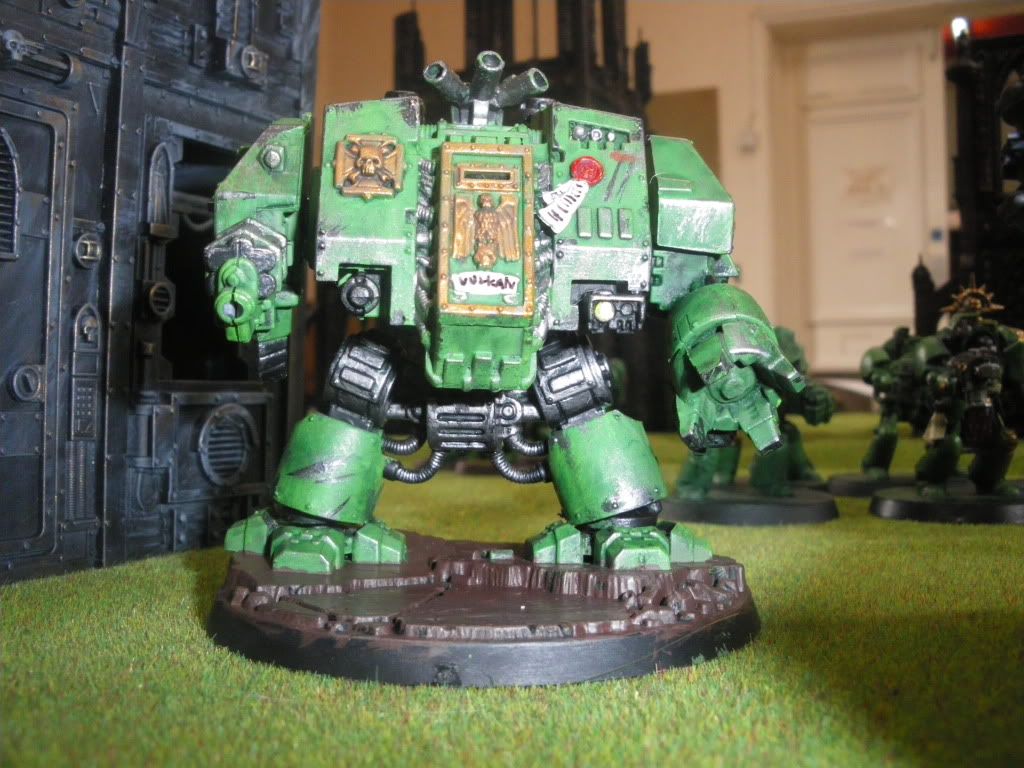
| *Insert Heroic Music Here* |

However, they still had to ensure the others would not reclaim it, others who straight after the fight shot the company flamer in the head and sent him tumbling from the top of the ruins. Captain M'dlaka and his Company Champion and Apothecary then clambered down from the tower and entered onto the battlefield to meet their destiny.


- Salamander Casualties
-- Captain M'dlaka and Command Squad D'loko
-- Tactical Squad Kan'mi
-- Dreadnought Brothers Mareni and Sho'bana
- T'au Casualties
-- One XV8 Crisis Battlesuit Bodyguard
-- Two Shas'ui Fire Warriors
-- One XV25 Stealth Team of Three
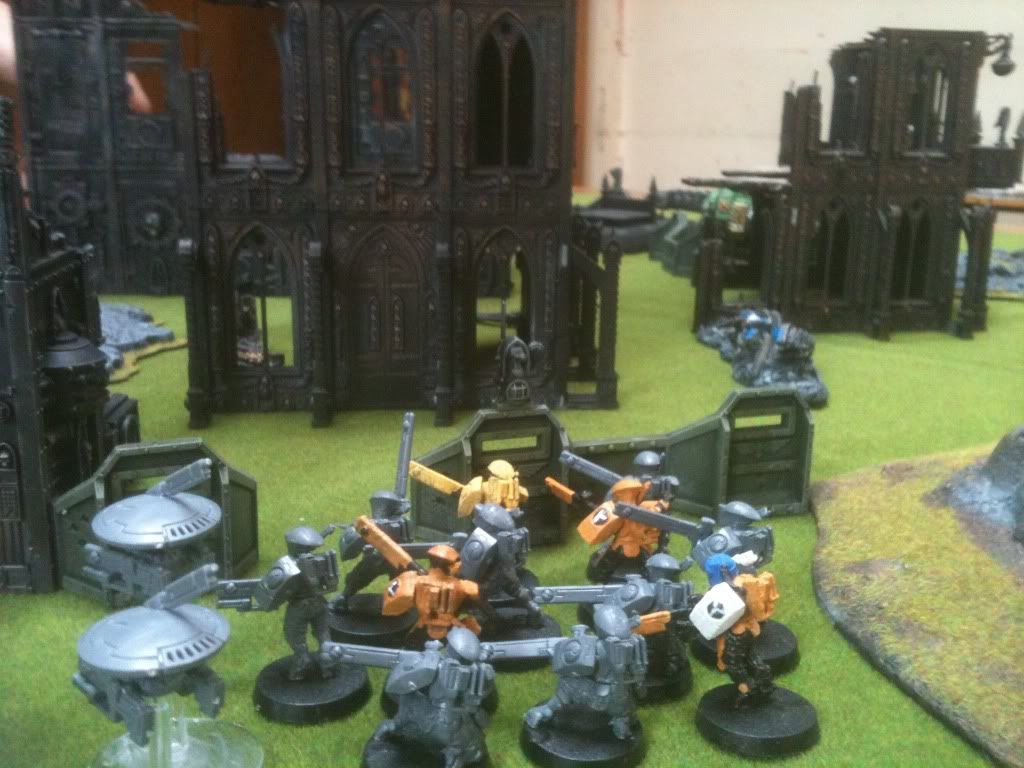
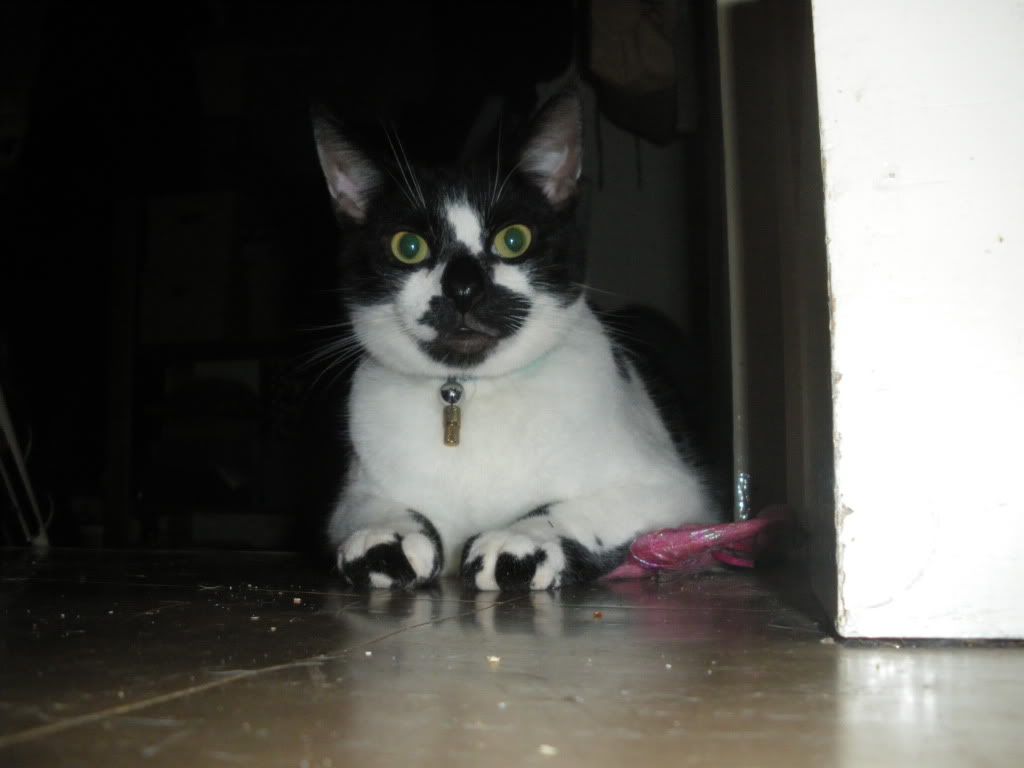
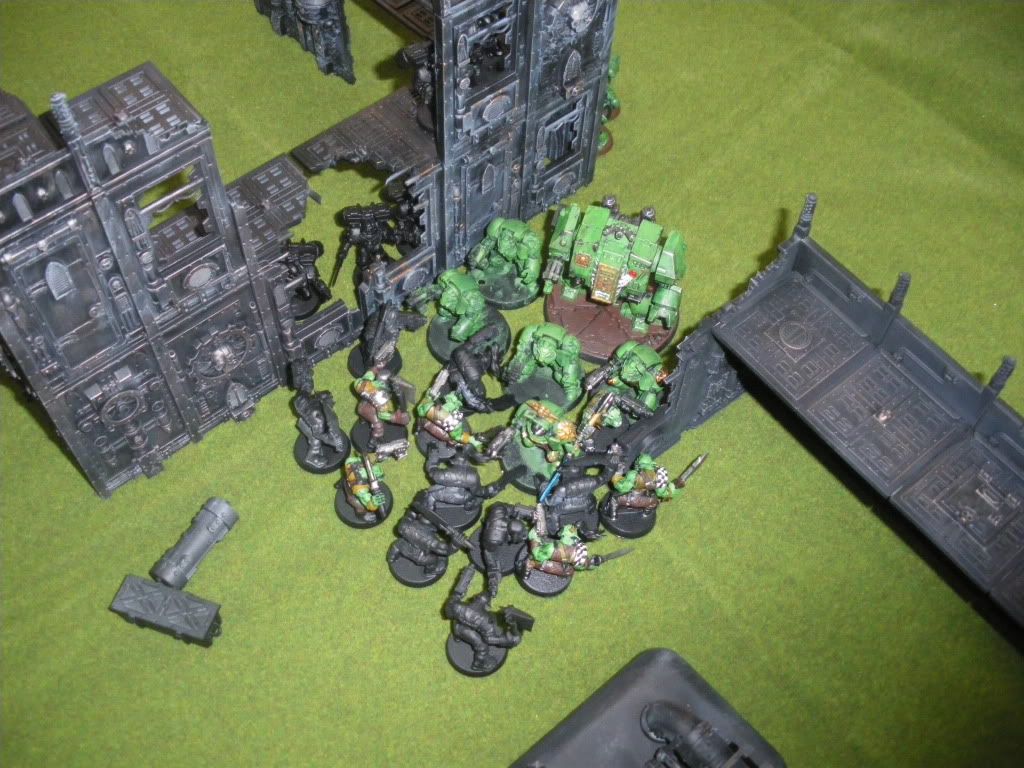
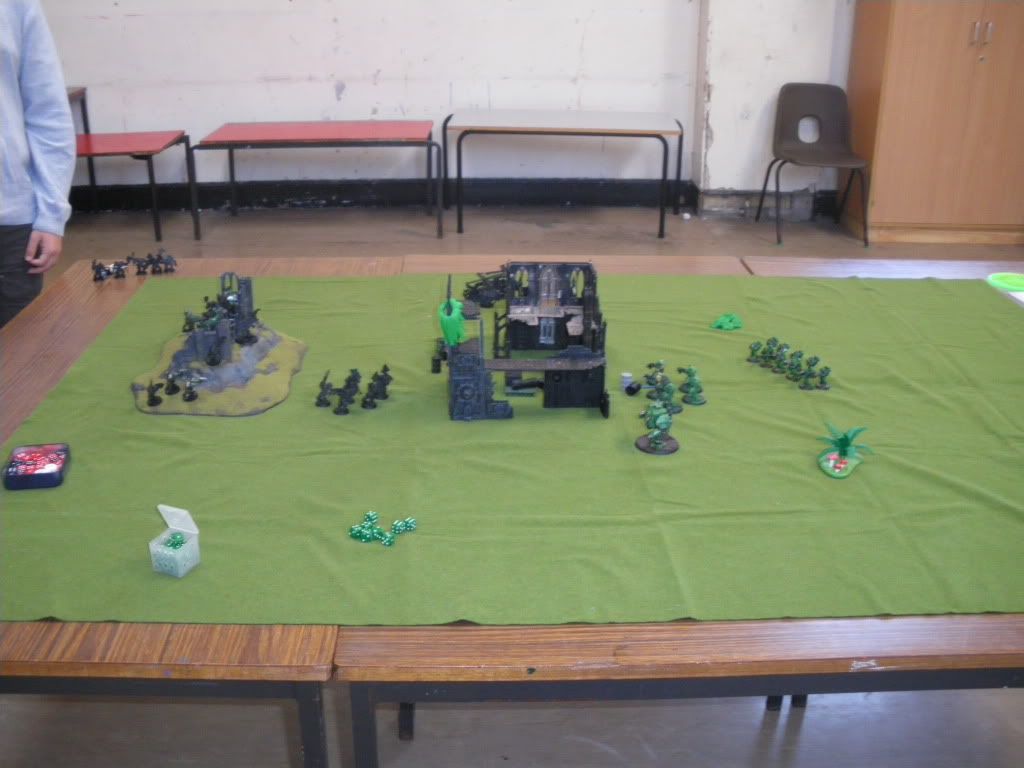
 |
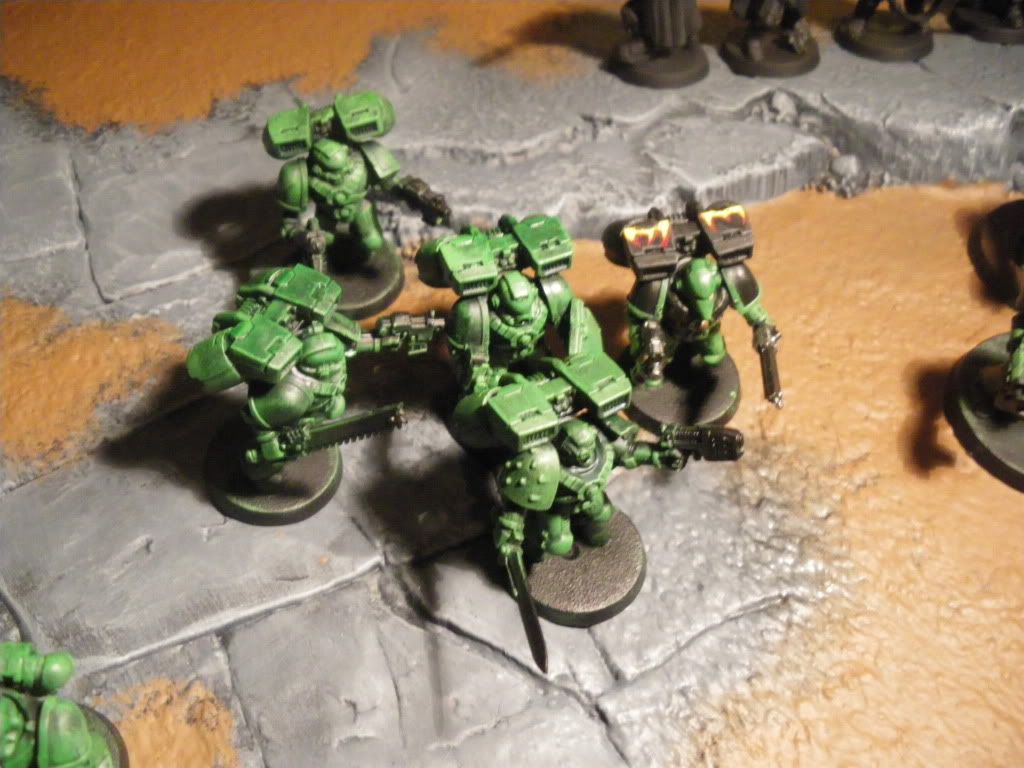
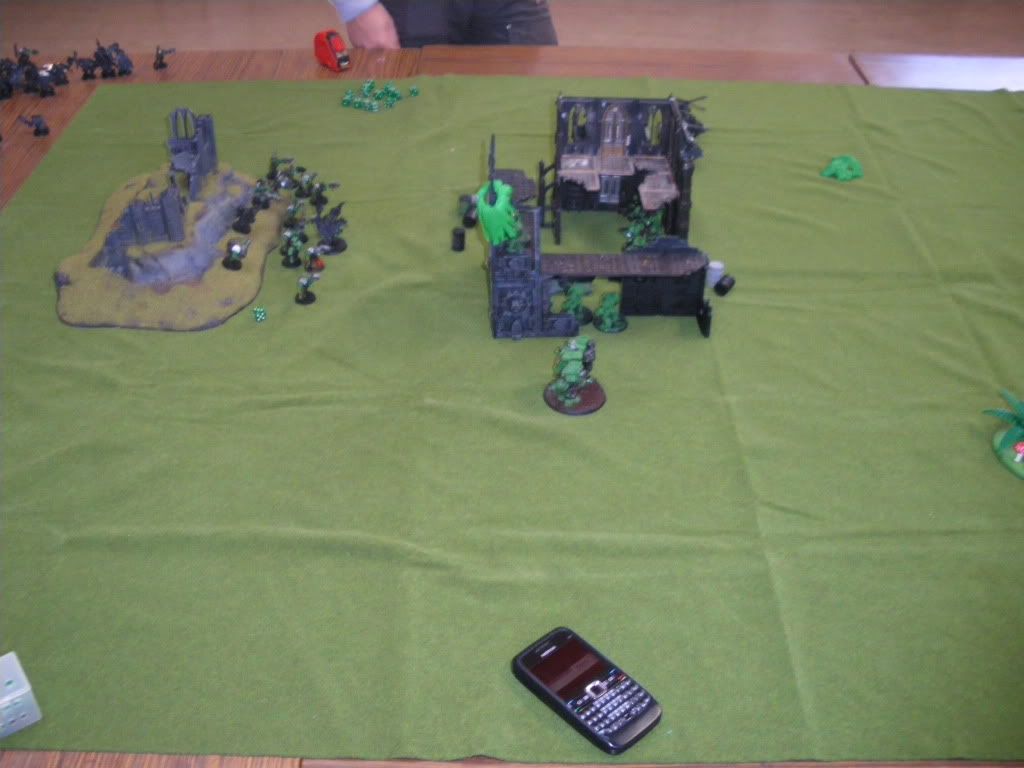
| This image sums up the game perfectly. |